Diagrams in Google Docs now support high resolution images
When you print a Google Doc, you want images and diagrams to be as clear as possible. Diagrams that have been embedded with the Google Docs add-on can now be printed at a high resolution.
Install the Google Docs add-on
- Go to the G Suite Marketplace and click Install.
- Click Continue and log into your Google Account.
- The Google Docs add-on needs your permission to work with your Google Docs and connect to the draw.io server so you can create diagrams inside your documents. Click Allow to grant these permissions.
Alternatively, you can search for the add-on from within Google Docs.
- Click Add-ons > Get Add-ons.
- Search for
draw.io diagrams, and click on draw.io Diagrams for Docs. - Click Install and follow the steps from (2) above to grant access to the add-on.
Automatic image quality of diagrams in Google Docs
When you add a diagram to a Google Doc, it will choose an image resolution automatically based on the diagram’s size.
- Smaller diagrams will automatically be scaled to retina-quality high resolution images.
- Larger diagrams won’t, in order to save on bandwidth.
First, you need to add a diagram to a document.
Add a diagram to a Google Doc
- Click Add-ons > draw.io Diagrams for Docs and then select Insert Diagrams. If you don’t have any existing diagrams, you can create a New diagram.
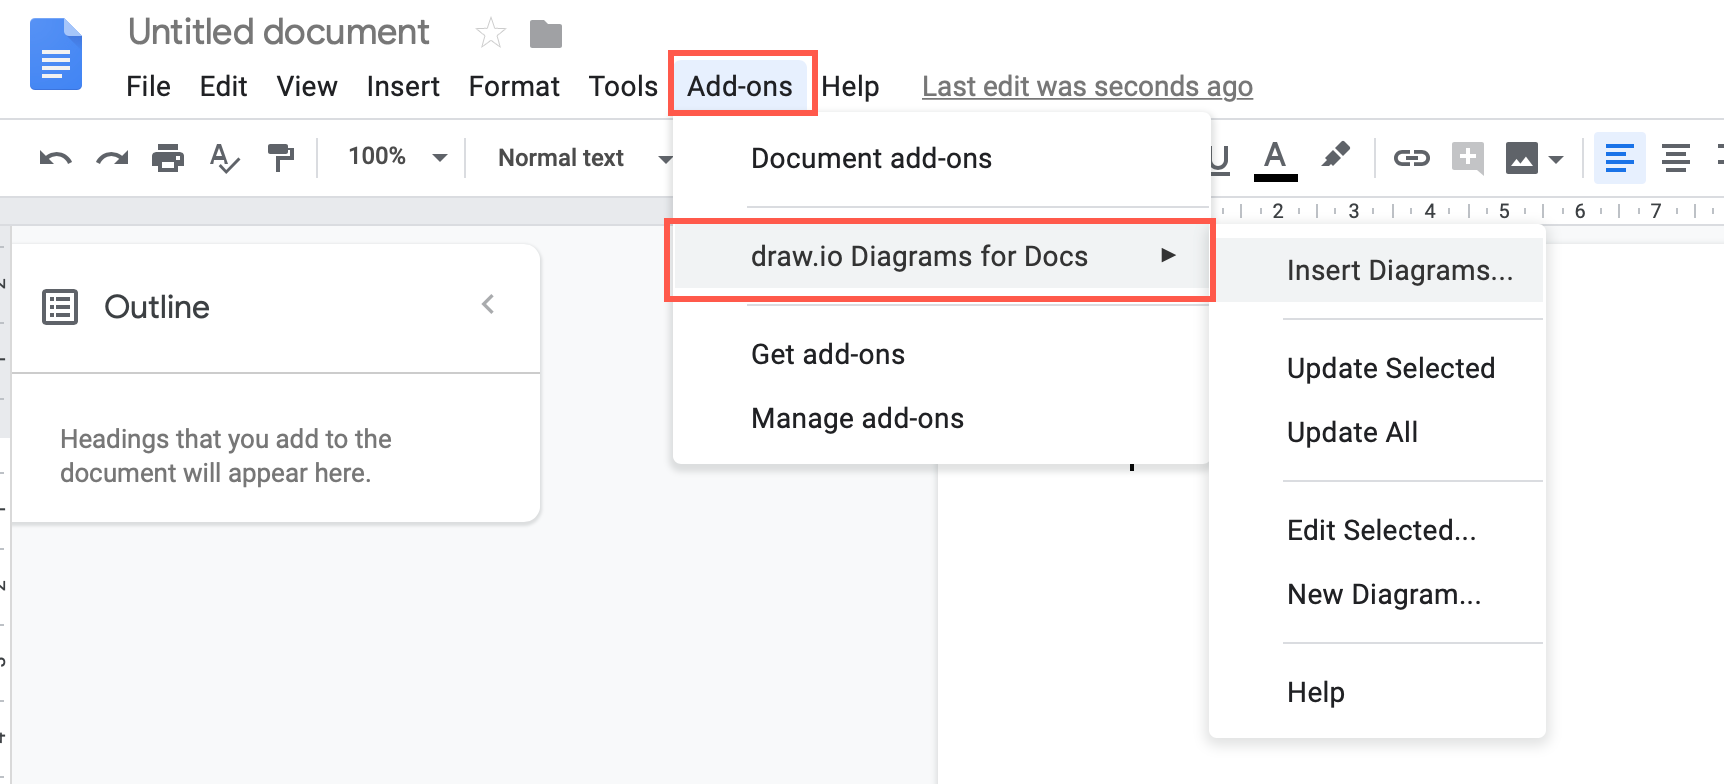
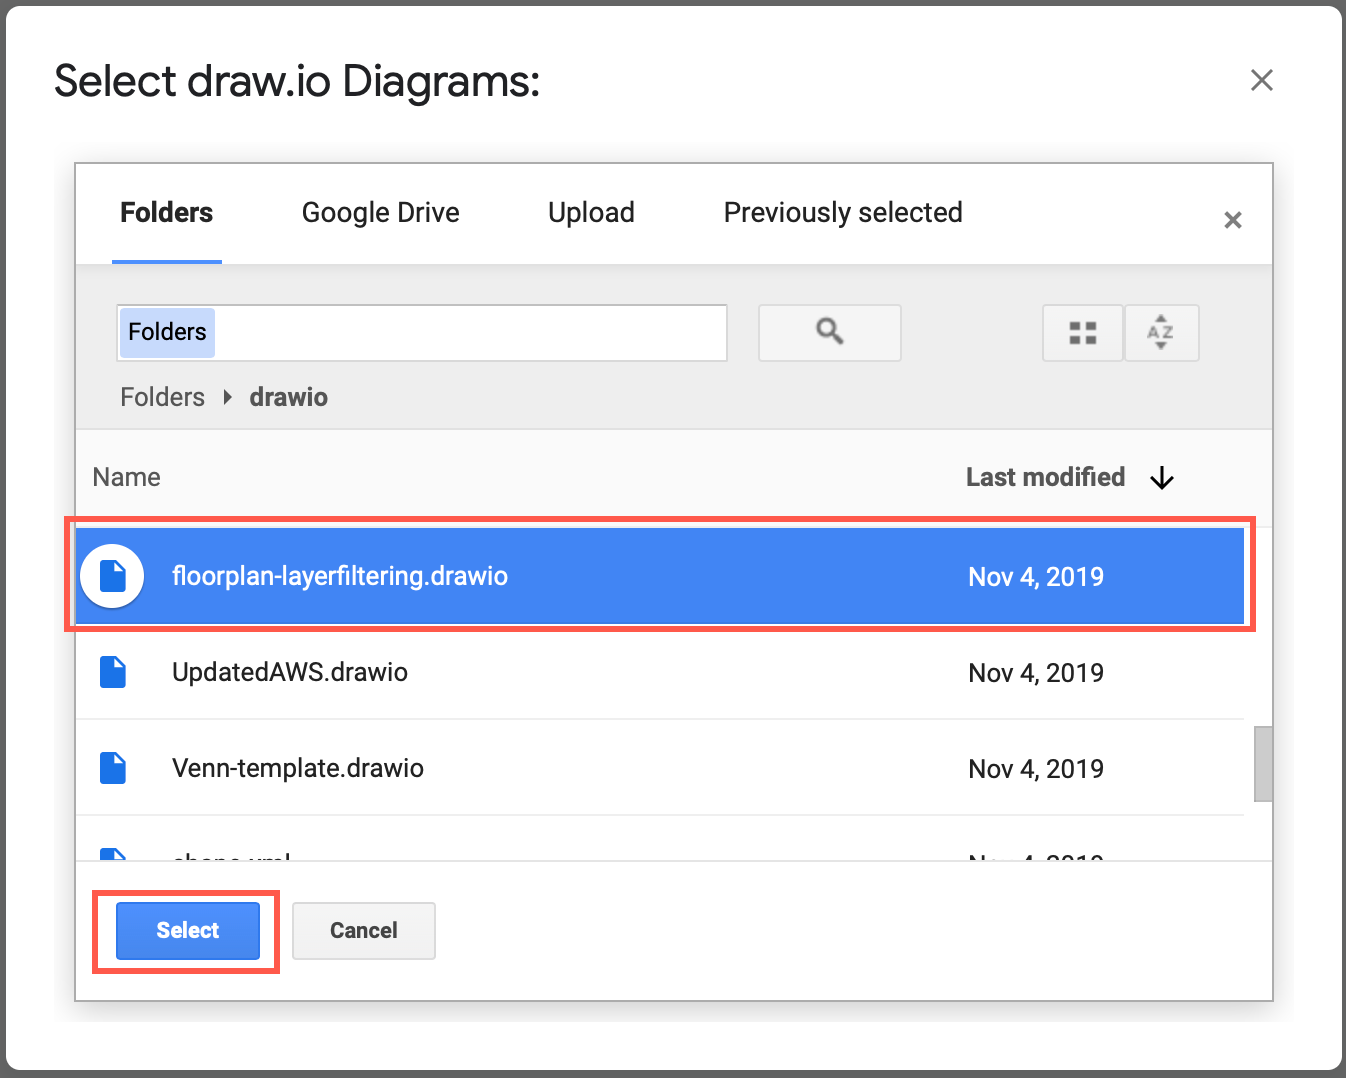
- If you are inserting a diagram, navigate to your .drawio diagram file, select it, then click Select.
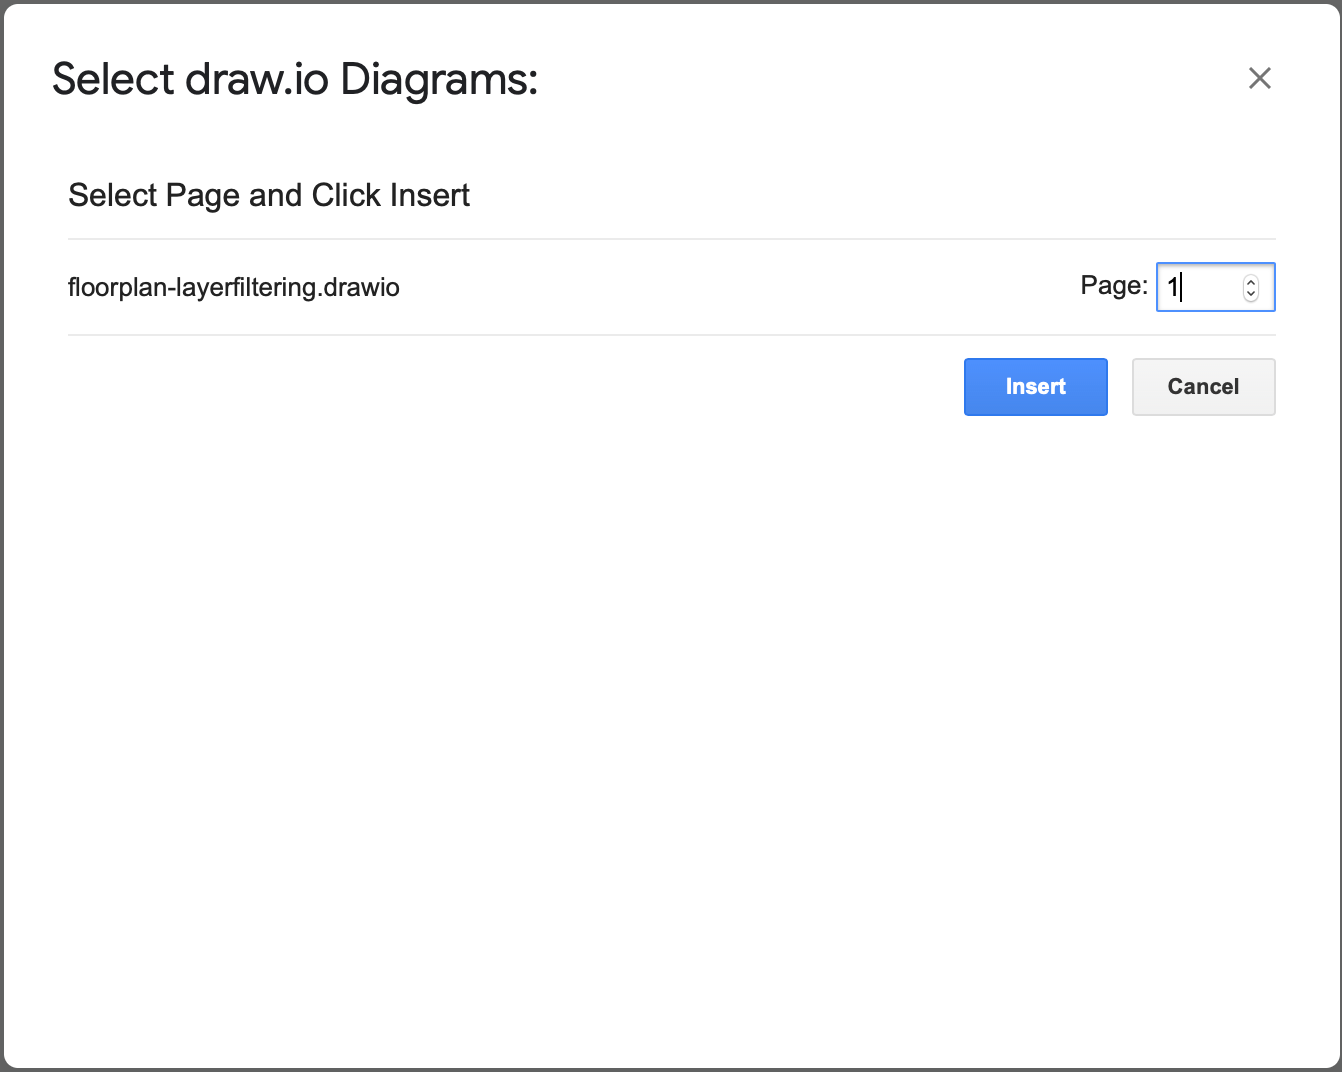
- Select the page you want to display, if your diagram has multiple pages, and click Insert.
Change the diagram’s image resolution in Google Docs
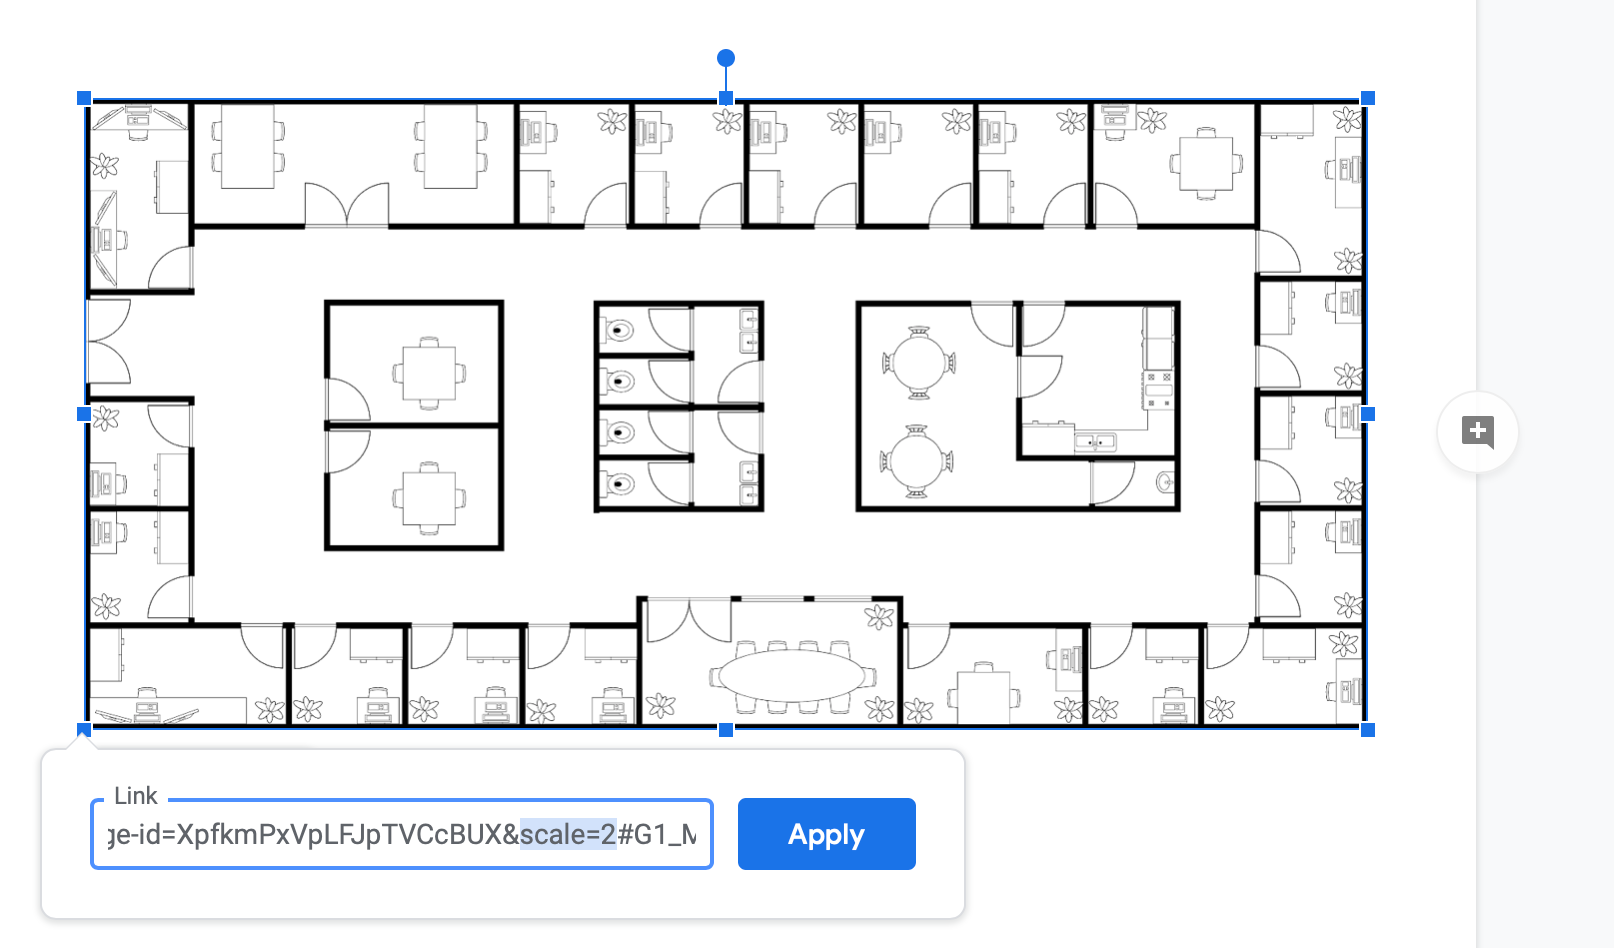
If you are unhappy with the automatic resolution that your diagram is displayed or printed at, you can change the scale by editing the diagram link embedded in the document.
- Edit the diagram link by clicking on the pencil icon.
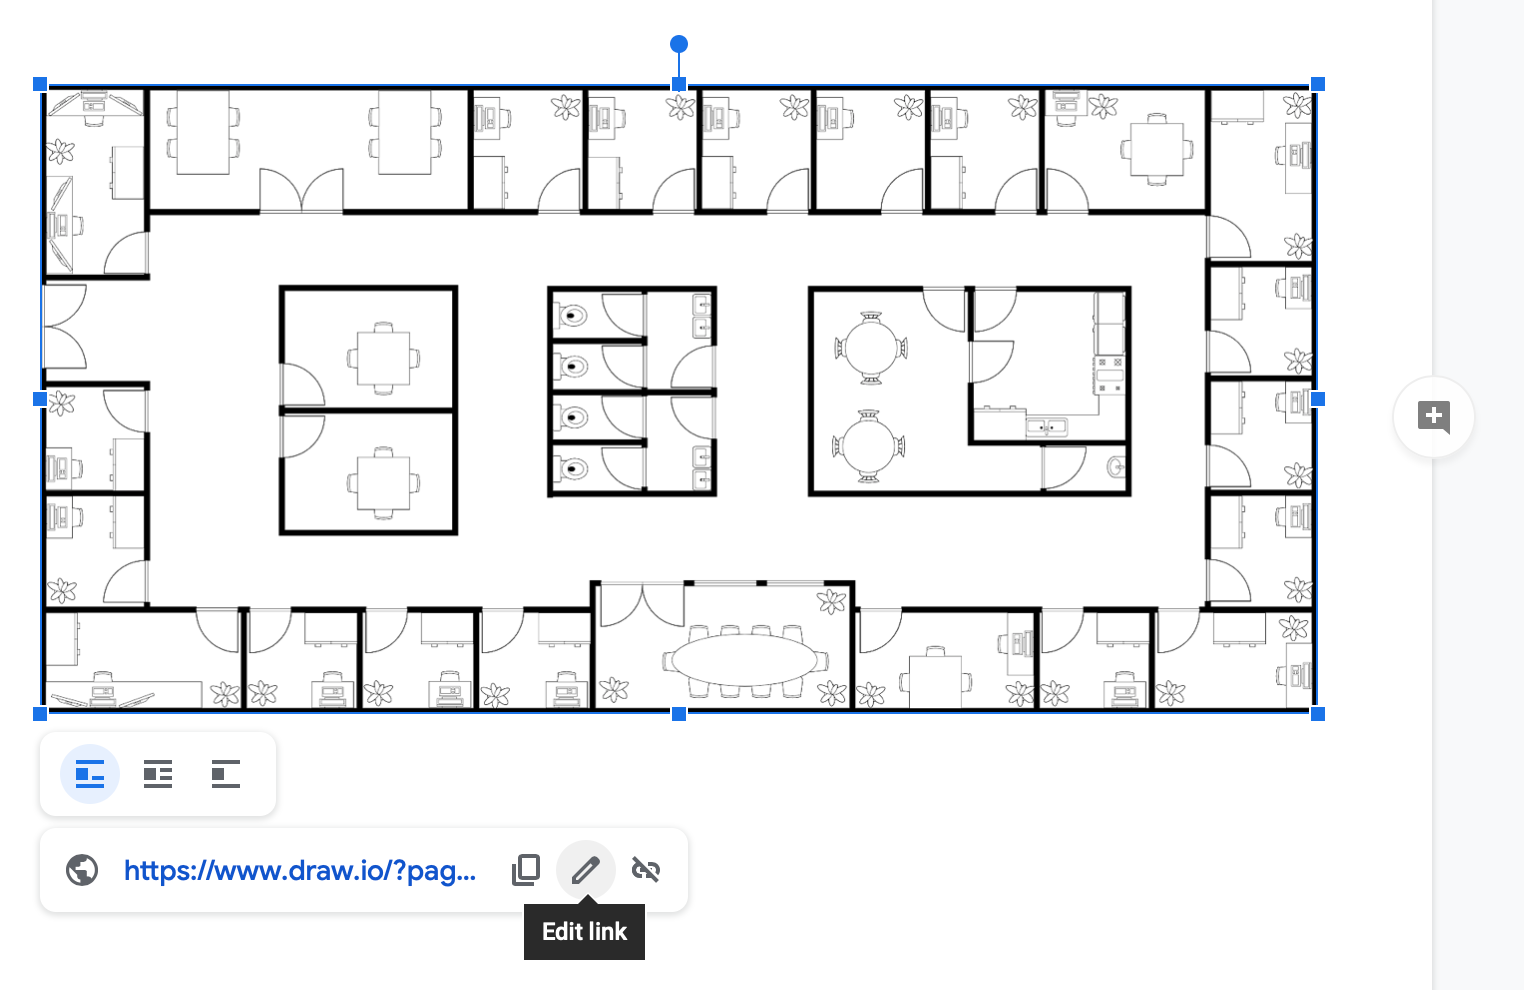
- Find the modifier
scale=autoand change the value to whatever you want.scale=2is equivalent to retina-quality high resolution images. Then click Apply.