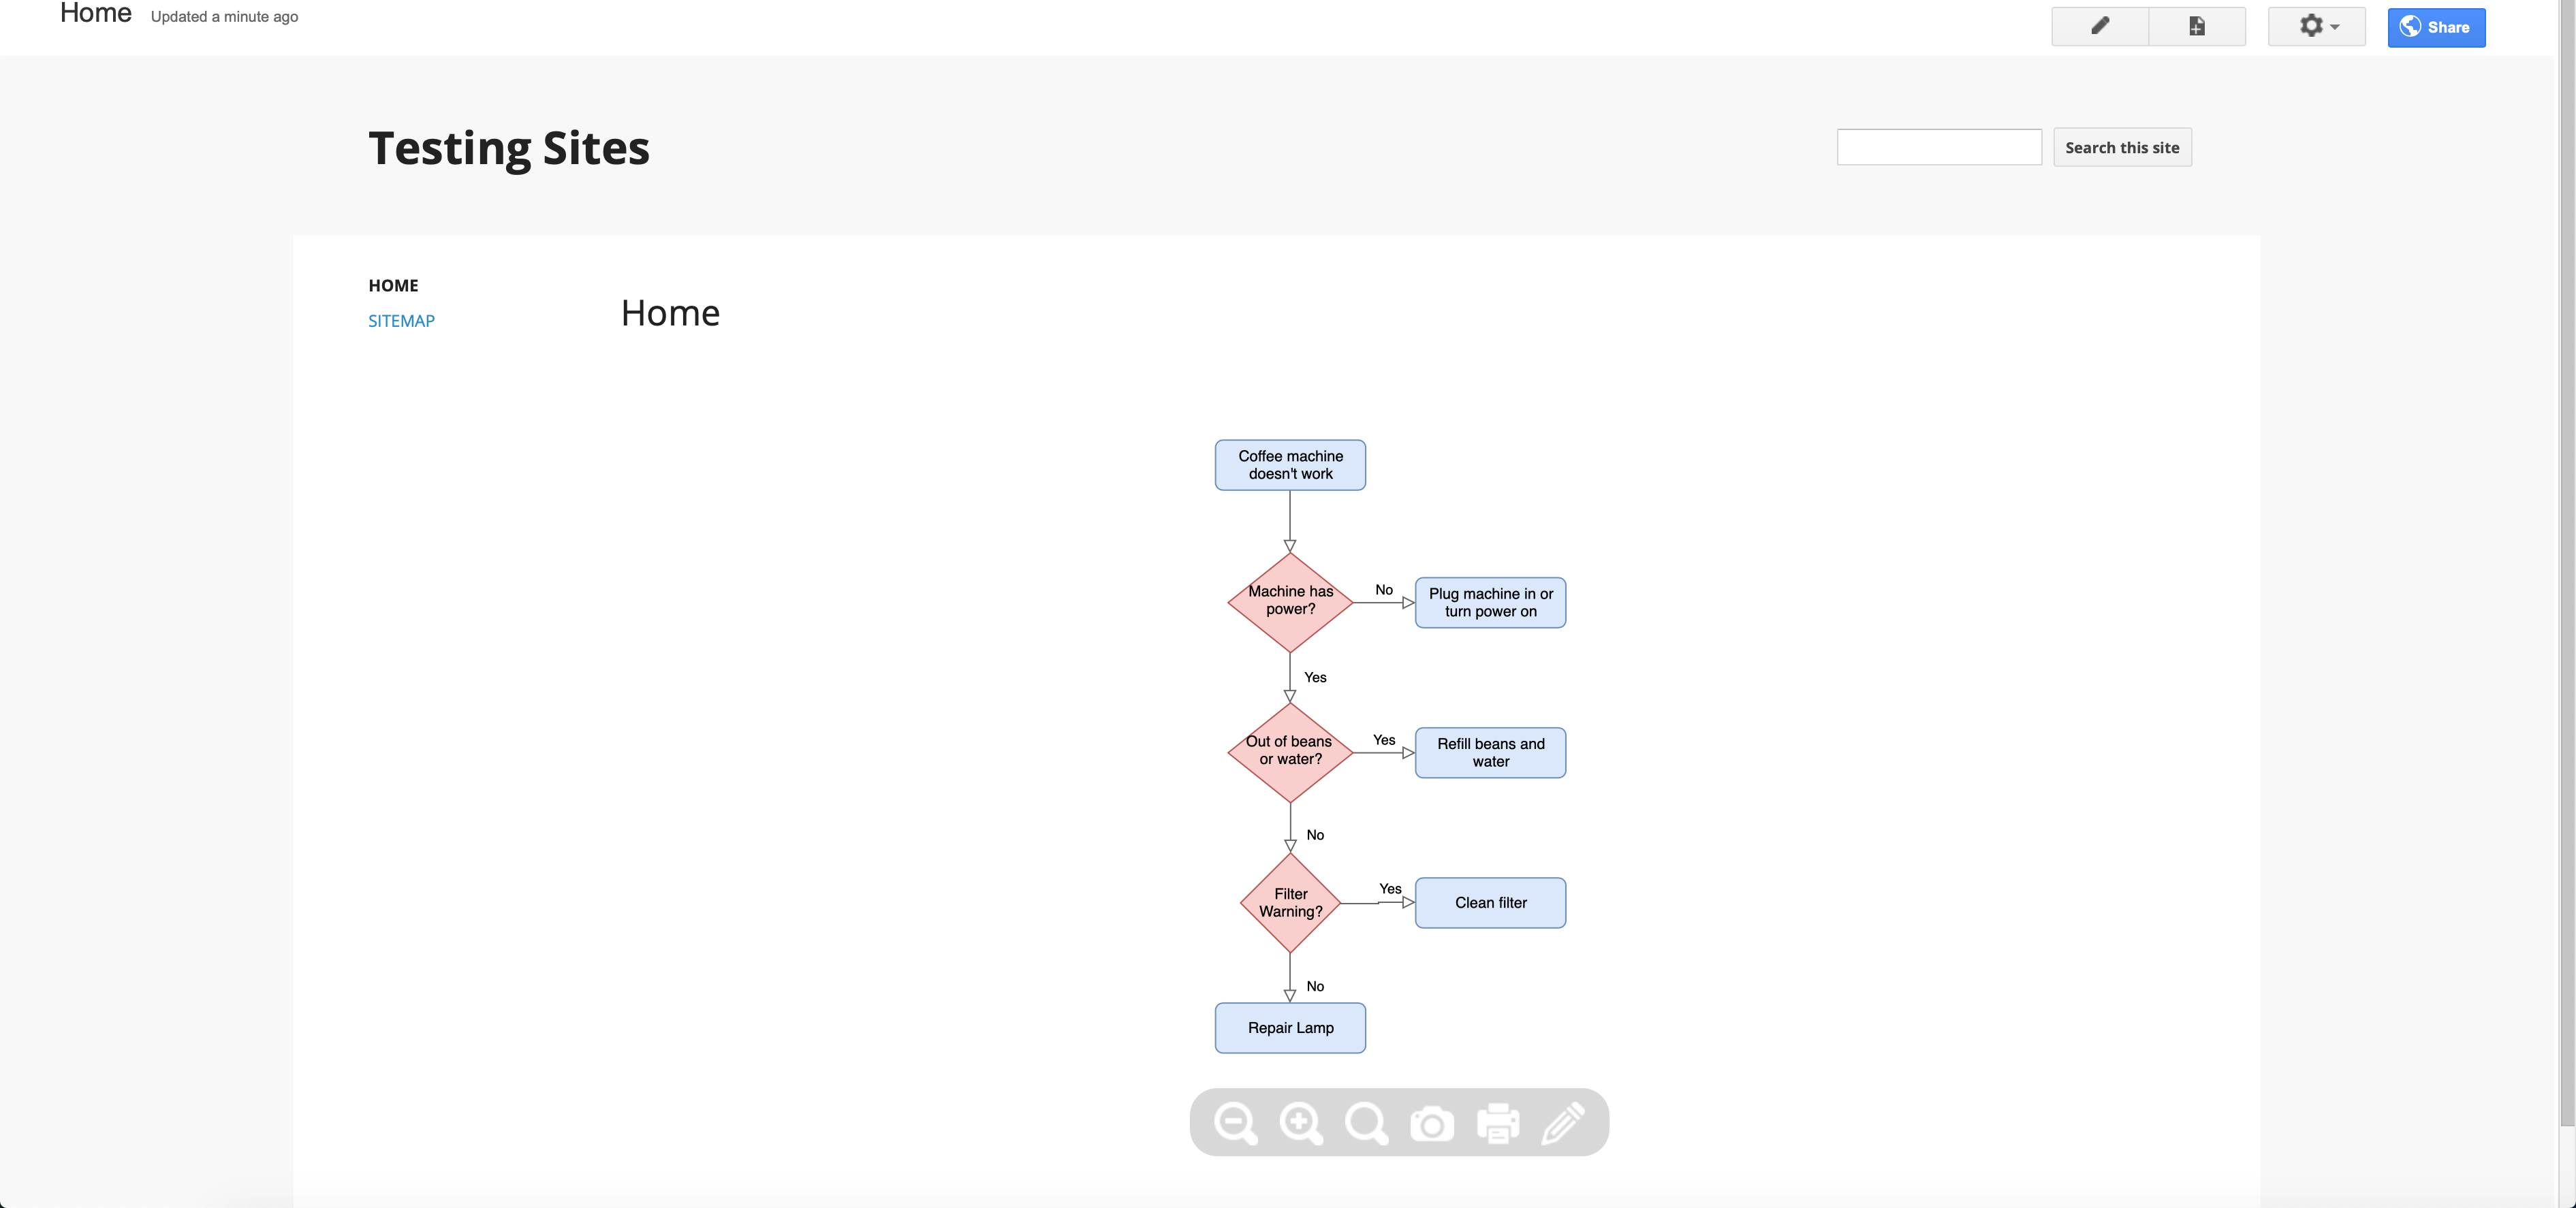
Embed a diagram on Google Sites
It’s easy to embed diagrams into both the new and the classic version of Google Sites.
Embed a diagram in the new Google Sites
The current version of Google Sites allows you to edit the HTML of your web pages. That makes it easy to embed a diagram as HTML.
- In the draw.io editor, select File > Embed > HTML to open the HTML options dialog.
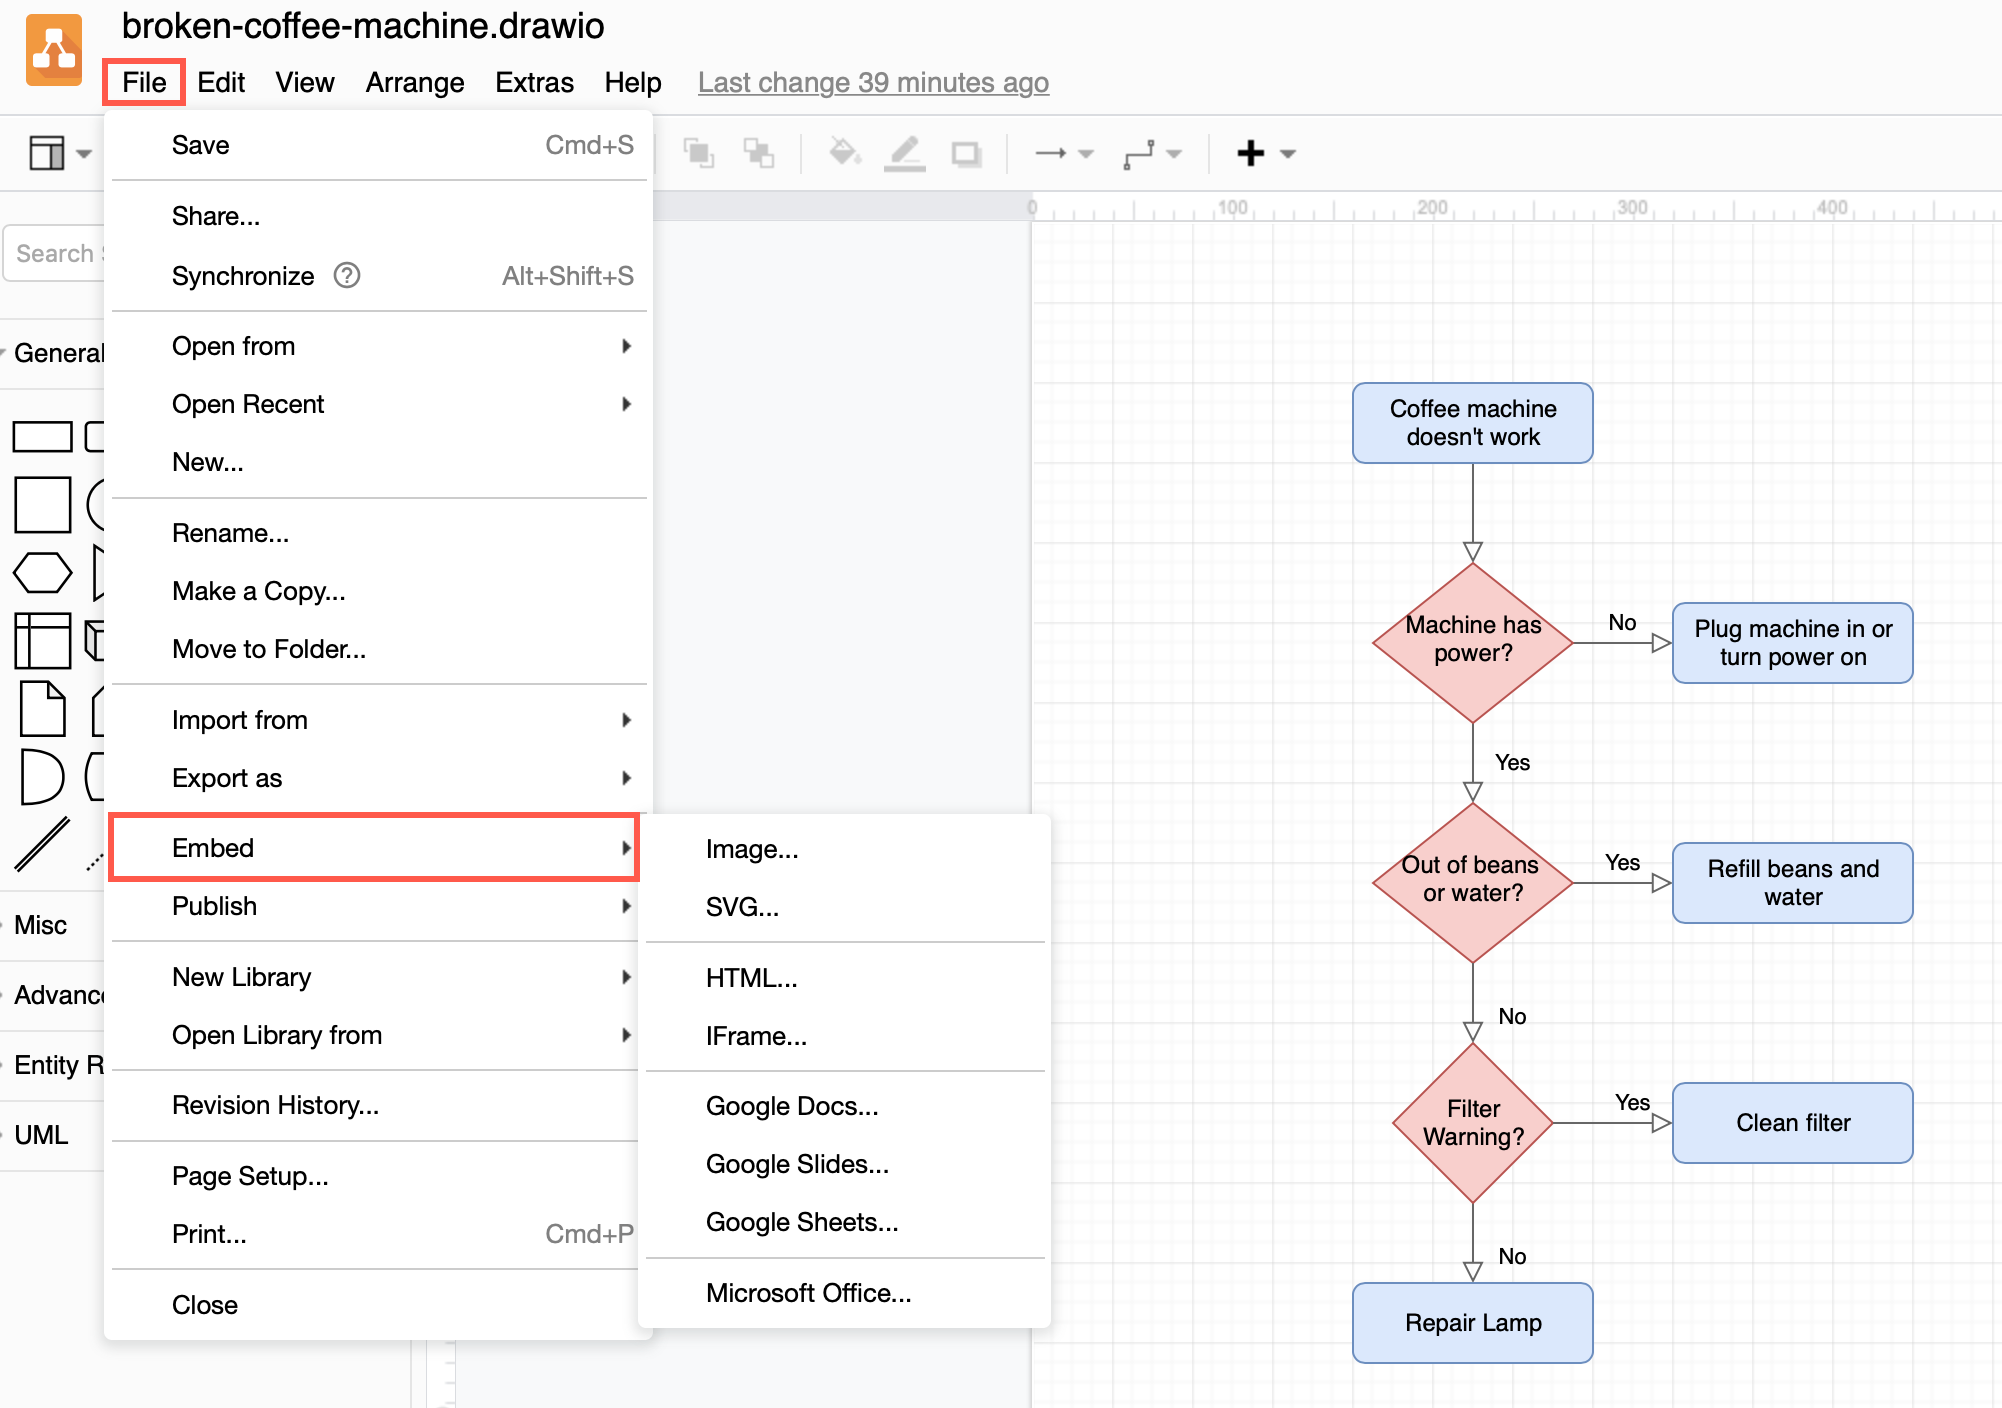
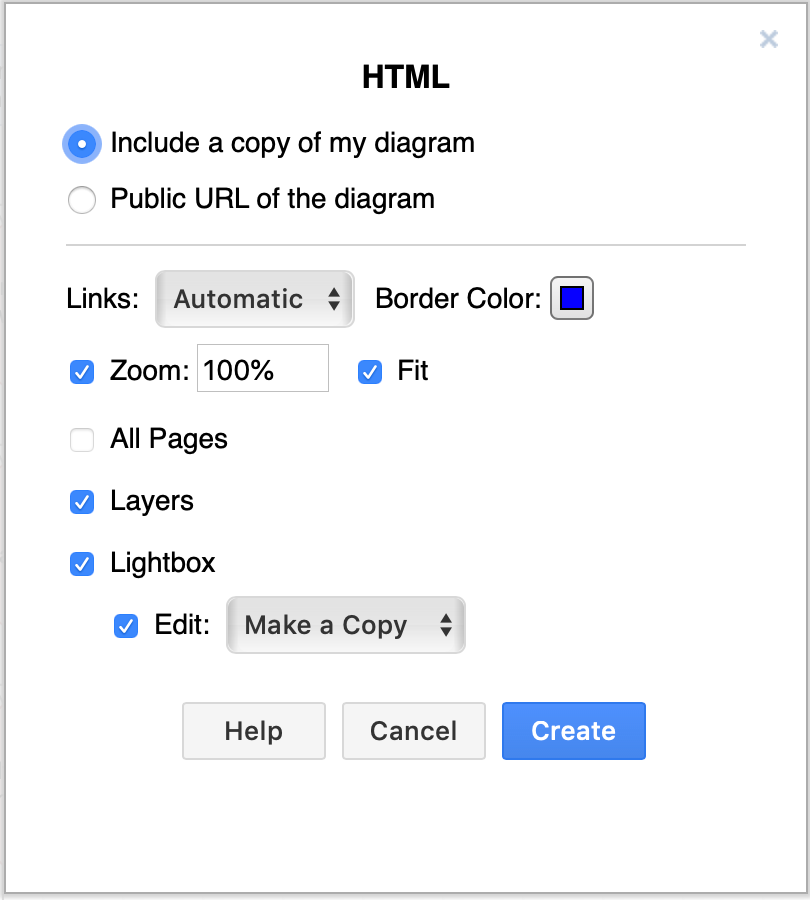
- Select the options you want to use, then click Create.
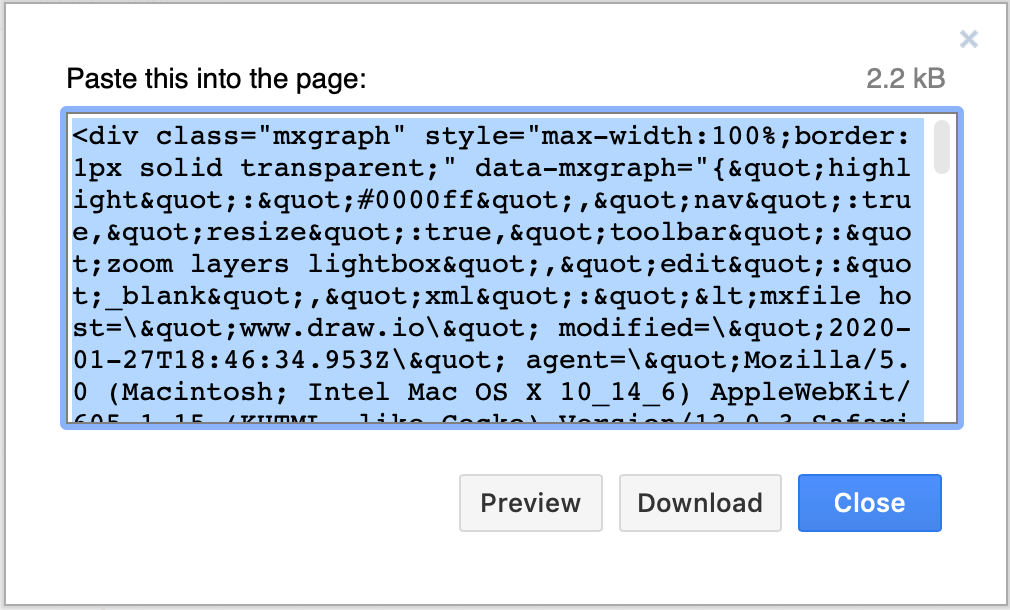
- Copy the HTML code that is generated.
- Edit your Google Sites web page, then click on the
<embed>tool on the right hand side.
- In the Embed from web dialog, click on the Embed code tab, then paste in the generated HTML. Click Next.
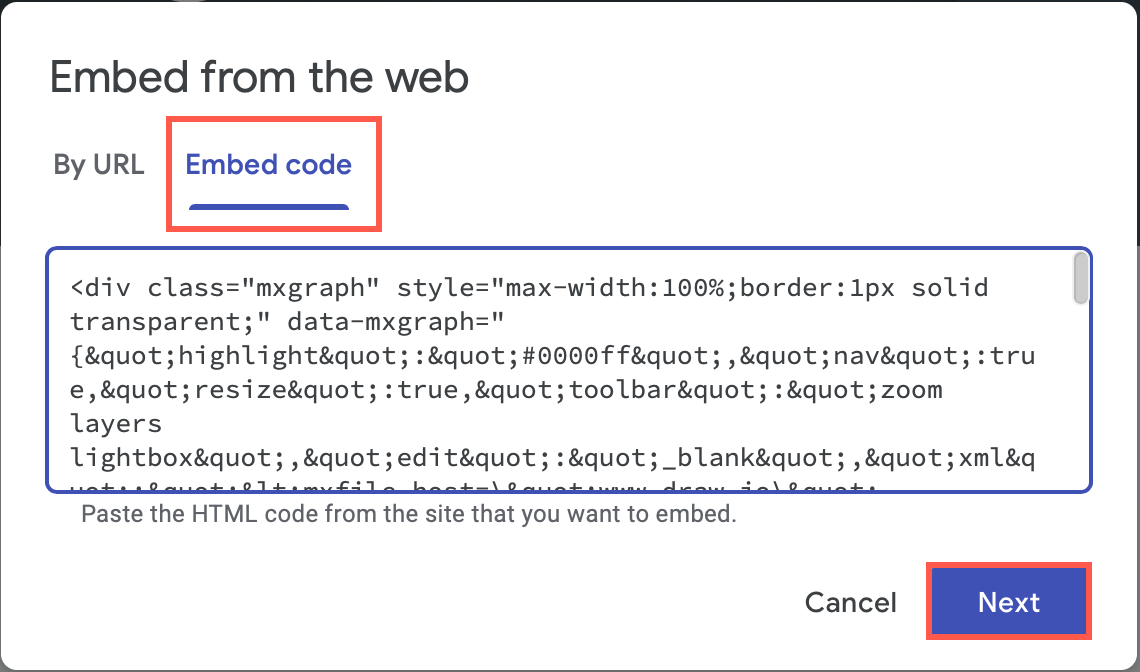
- You’ll see a preview of your diagram. Click Insert to add the diagram to your web page.

- You can resize your diagram in the Google Sites editor just like a normal image - grab and drag the square handles around the edge of your selected diagram. When you are finished formatting and adding content to your page, click Publish.

Embed a diagram in the classic Google sites
If you are using the classic version of Google sites, you will need to embed an IFrame.
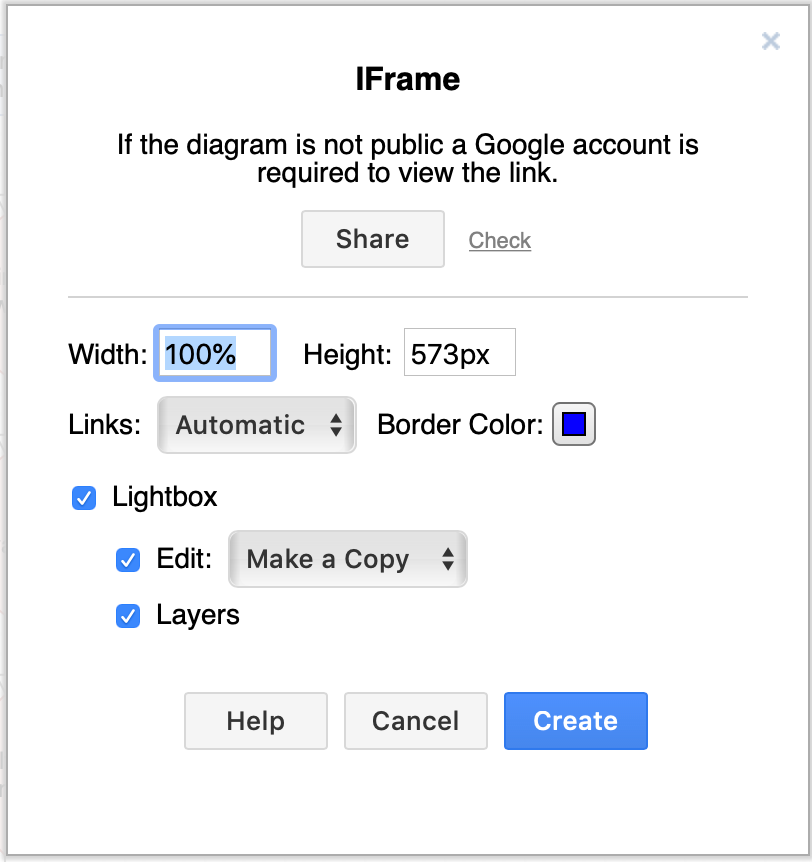
- Click File > Embed > IFrame to open the IFrame options dialog.

- Set the options you want to use within the IFrame and click Create.
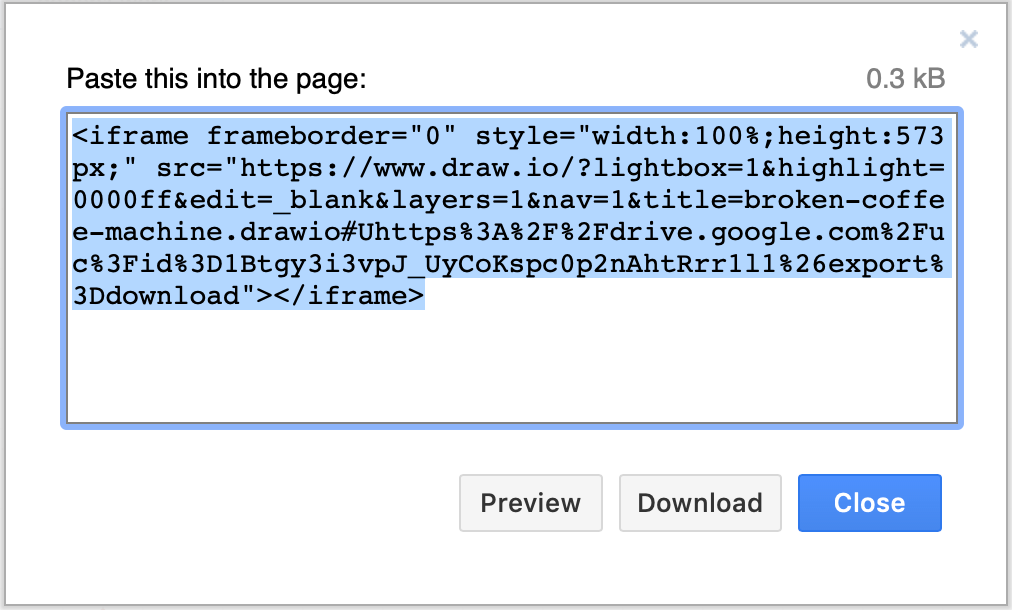
- Copy the HTML code that contains the IFrame.
- Edit a web page in your classic Google Site. Click on the
<HTML>tool in the toolbar above the editor.
- Paste the HTML code that contains the IFrame into the HTML tab of the Google Sites, Edit HTML dialog and click Update.

- The classic Google Sites editor will show you that a Google Gadget containing an IFrame has been added to the page. Unfortunately, you won’t be able to see a preview of the diagram until you save the page. Click Save in the top right above the editor to publish your page.
- Now, your diagram will be displayed in your classic Google Site using the diagram lightbox (if you used the default options when generating the IFrame HTML code).
