Change the style of text and labels
- Change the font and font size
- Change text and text background colours
- Style part of a text label
- Change the position of the text
- Related features
To change the style of a text label, select the shape or connector, then select the Text tab in the format panel on the right.
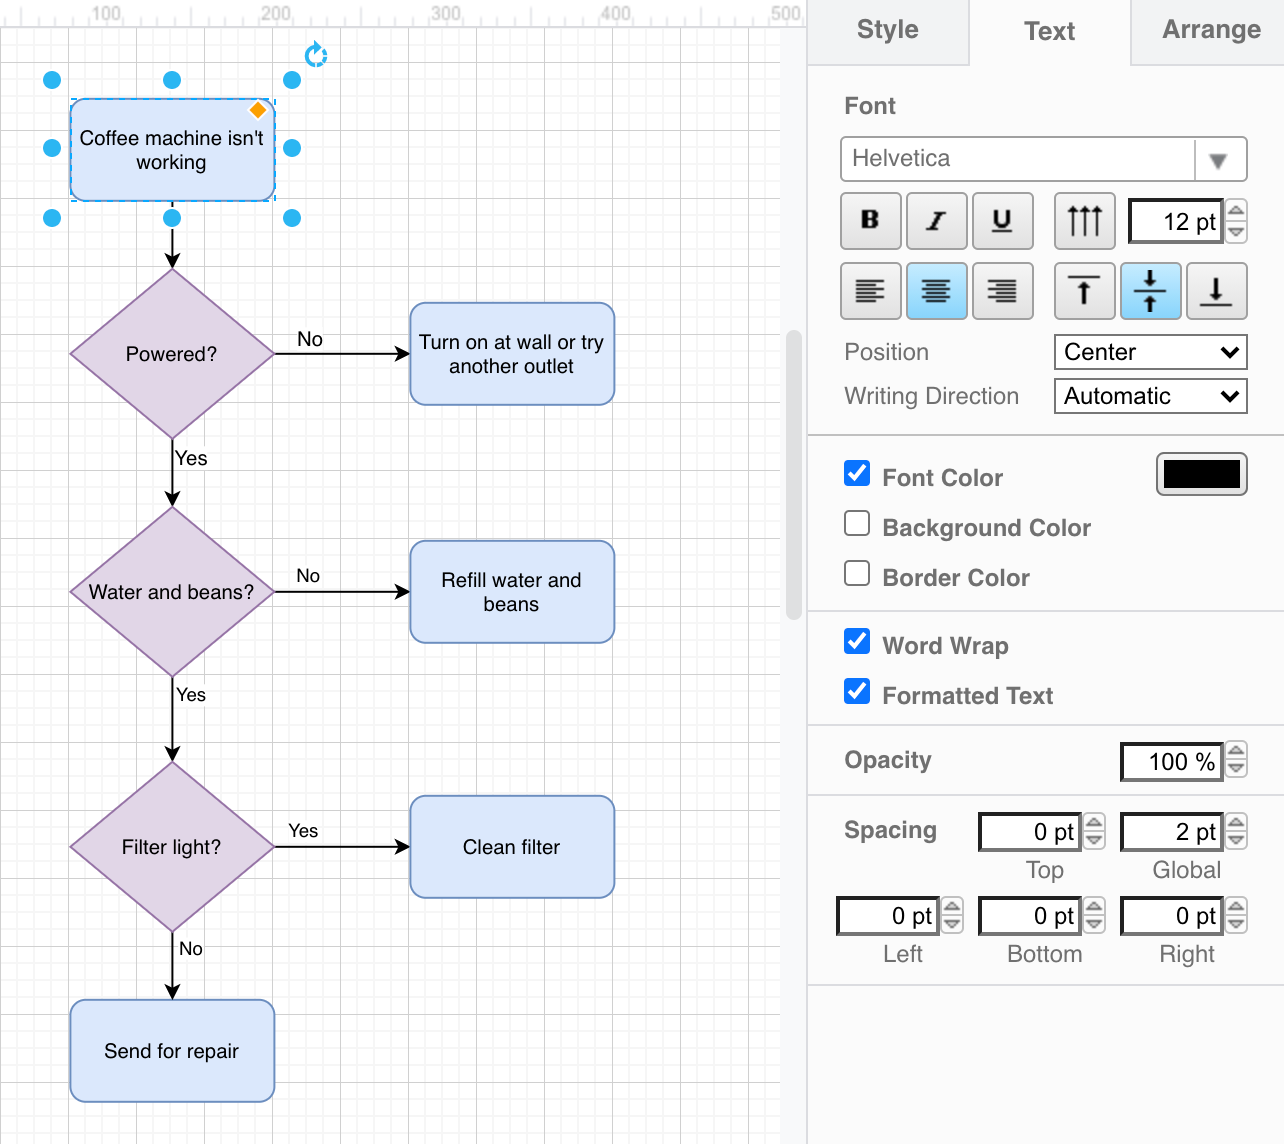
Change the font and font size
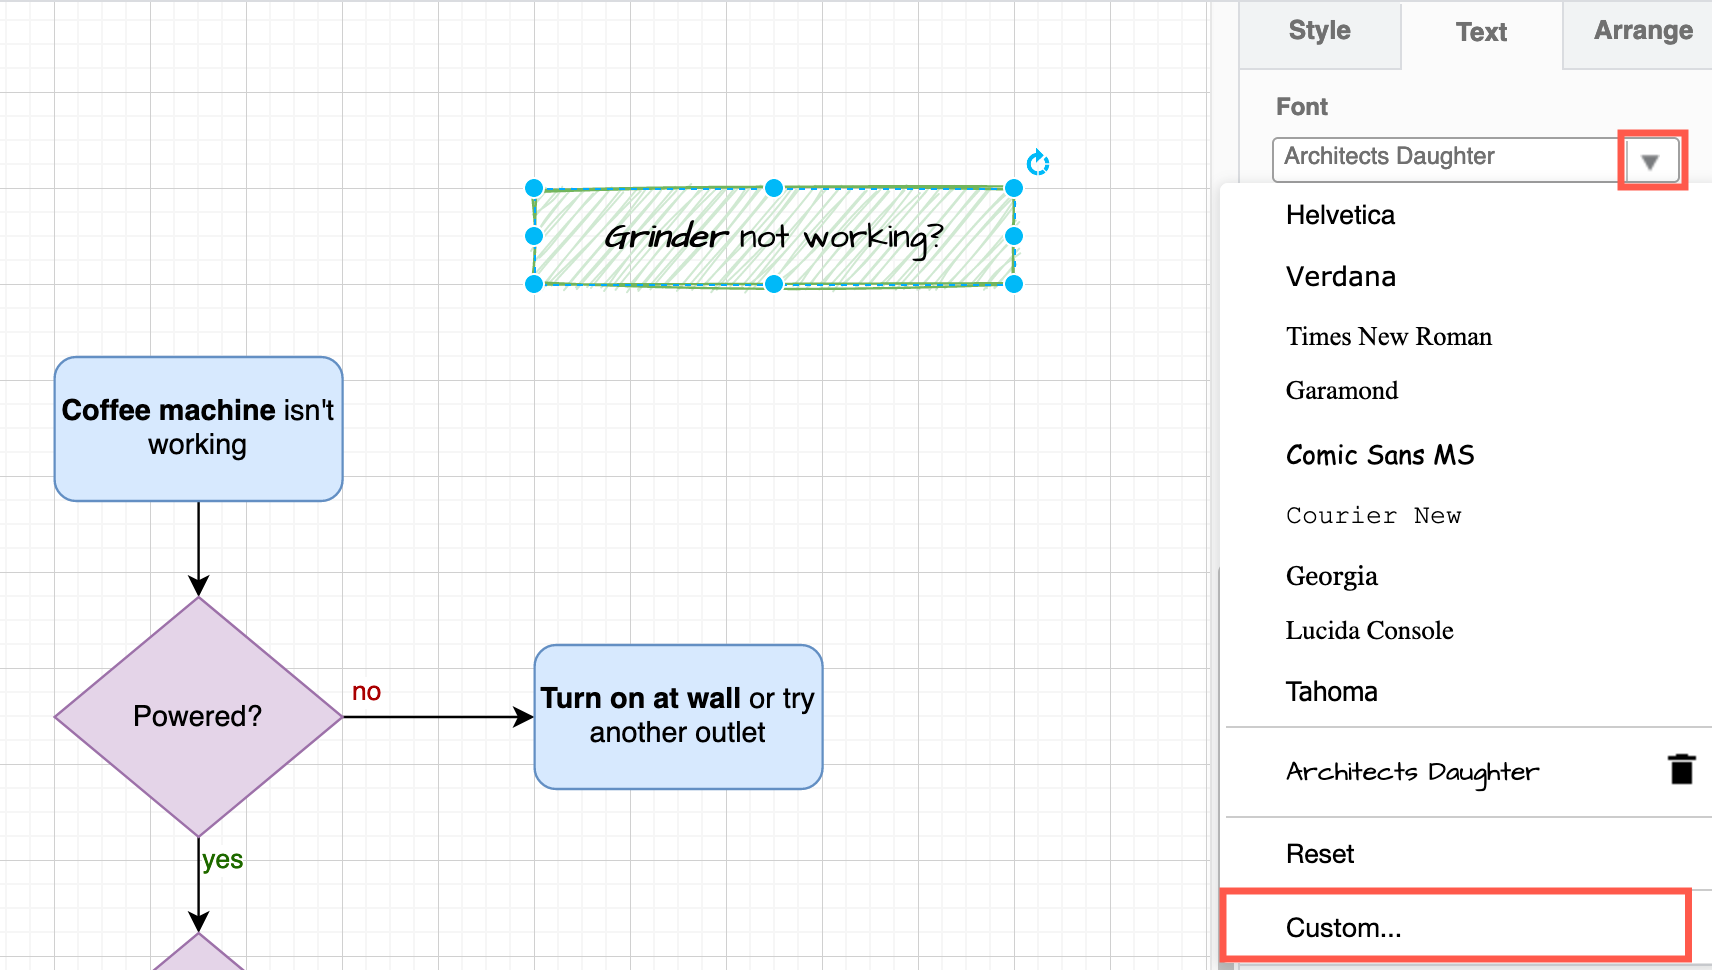
- In the Text tab, click the drop down arrow next to the font name to see a list of installed and available fonts.
- Select a different font from the list.
- If you don’t see the one you want to use, click Custom to add a new system, Google or web font.
- In the font selection dialog, type the name of the new font in the appropriate section, and the URL if you are using a web font, then click Apply. The note in the example above uses the
Architects DaughterGoogle font.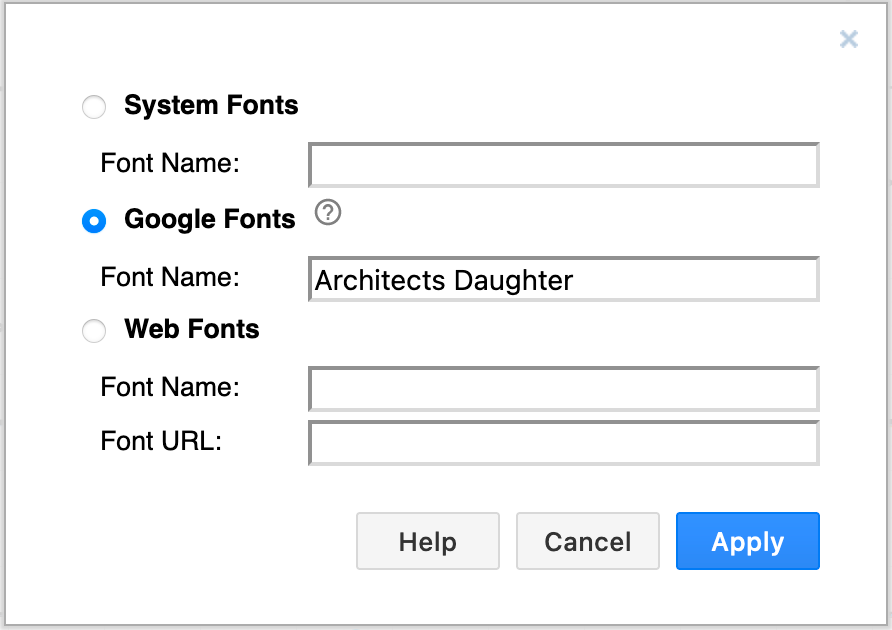
Learn more about using external fonts
Increase the font size: Enter a new value in the text field just underneath the font dropdown list, or use the arrows to increase/decrease the font size. Alternatively, select the shape or label and press Ctrl+Shift +/- (Numpad) to increase or decrease the text size.
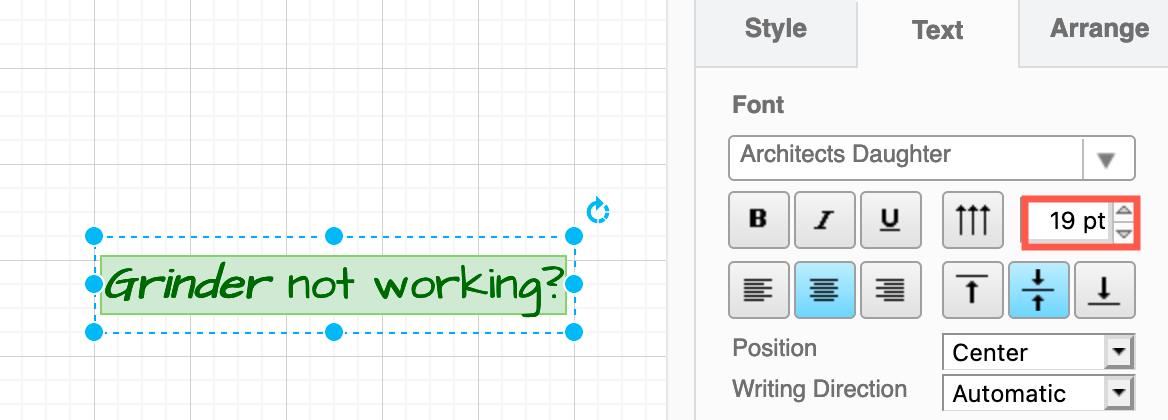
Tip: Copy and pasting styles will also copy the text style options from one shape to another.
Change text and text background colours
- Select the shape or connector where you want to change label colours.
- Click on the colour button next to the Font Color, Background Color or Border Color checkbox to open the colour palette.
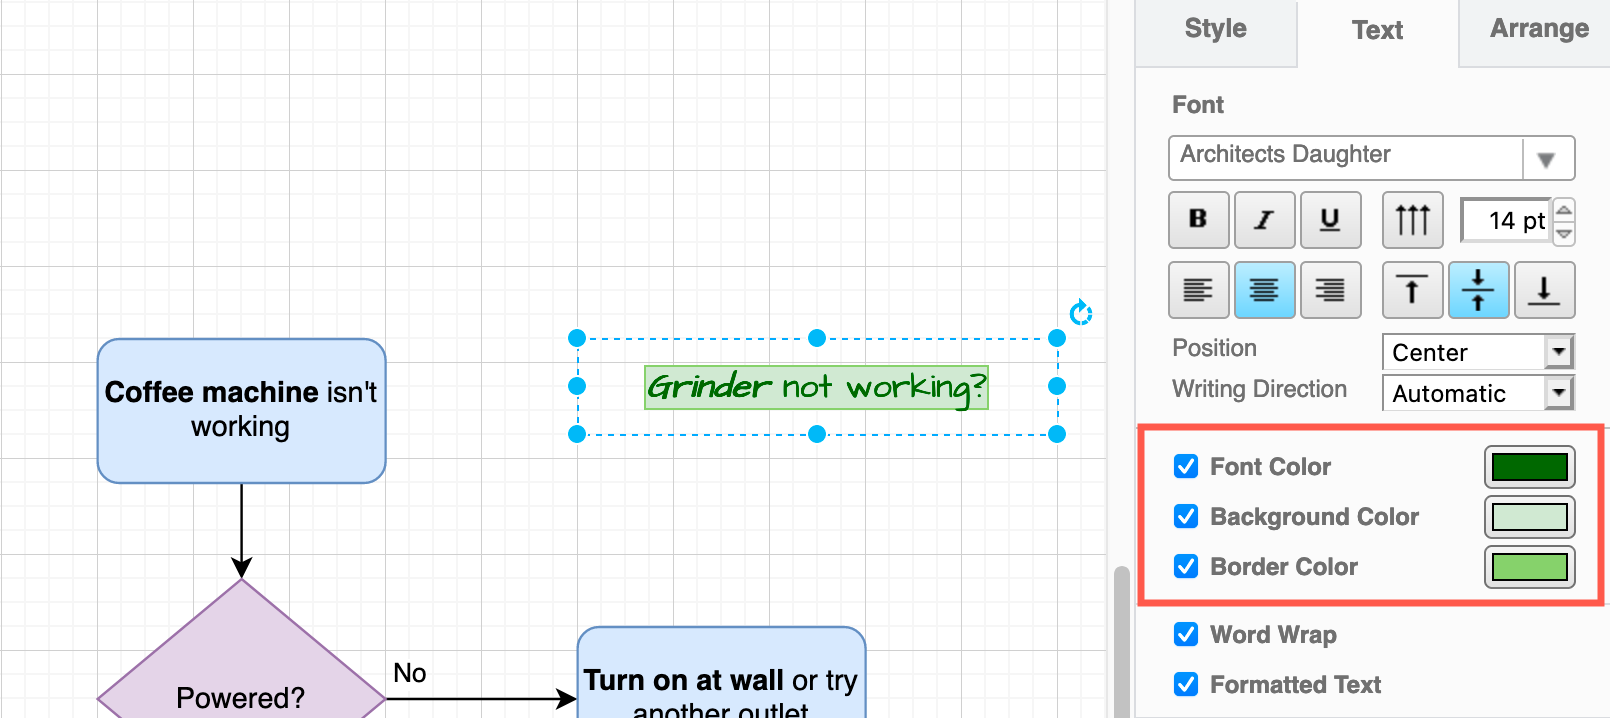
- Select a new colour from the palette and click Apply.
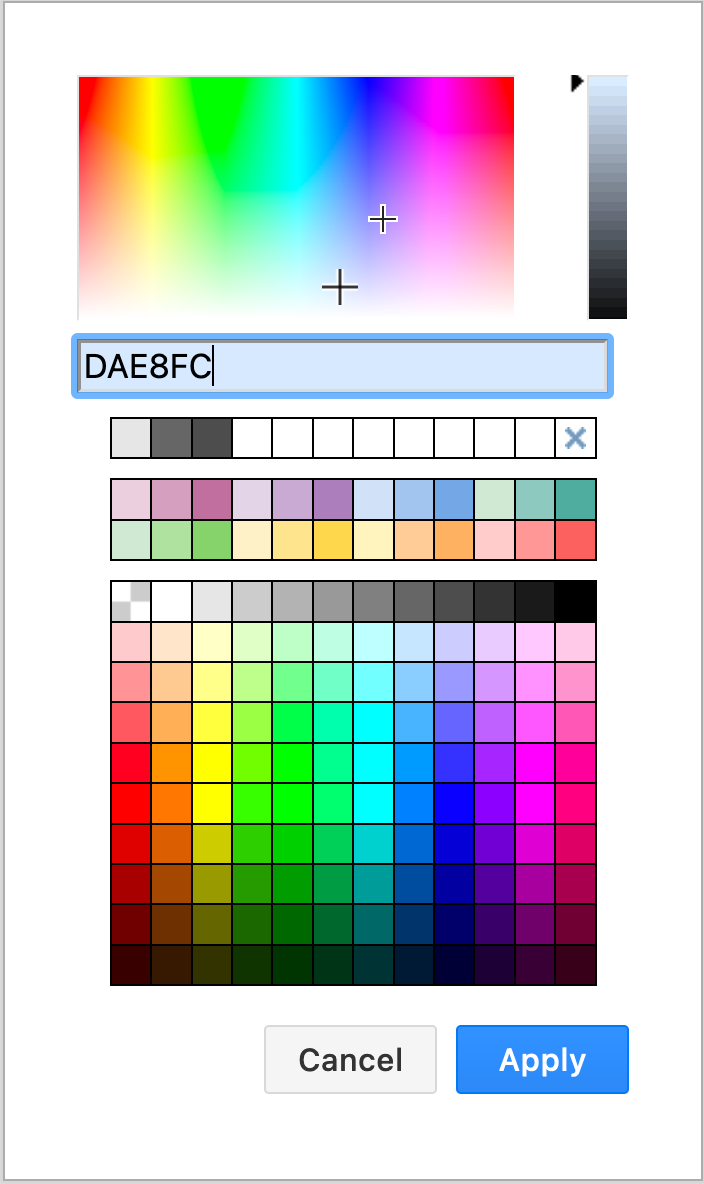
Style part of a text label
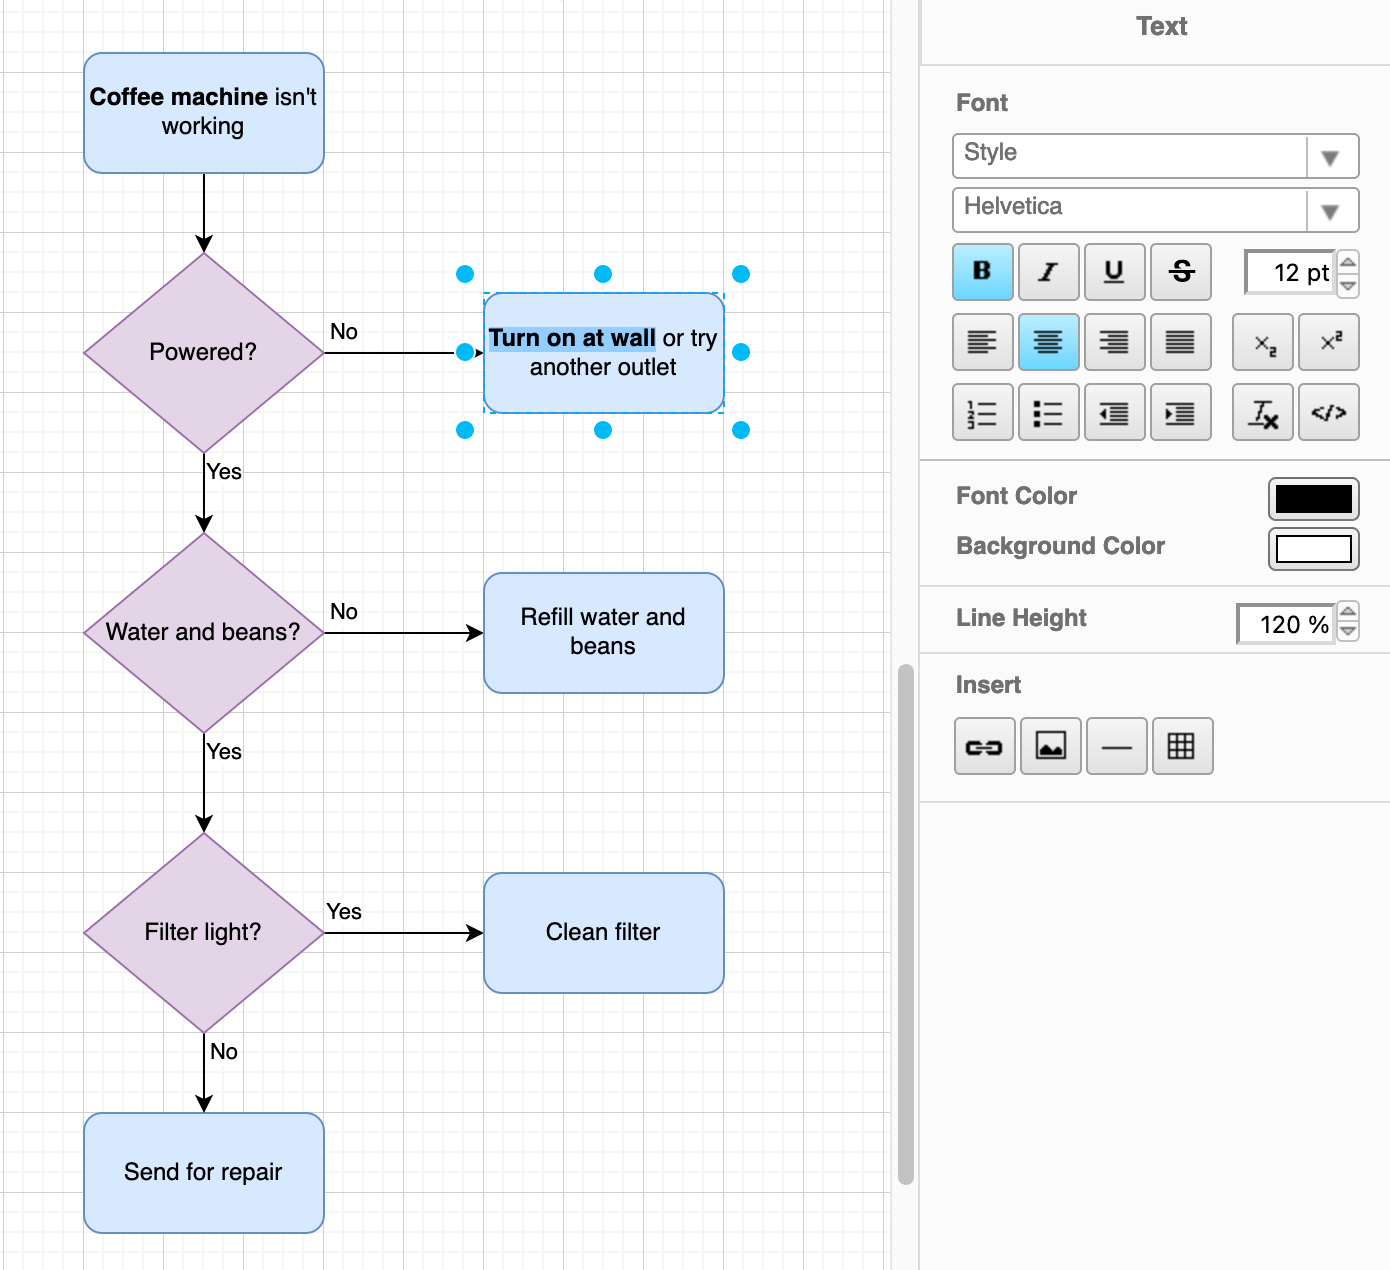
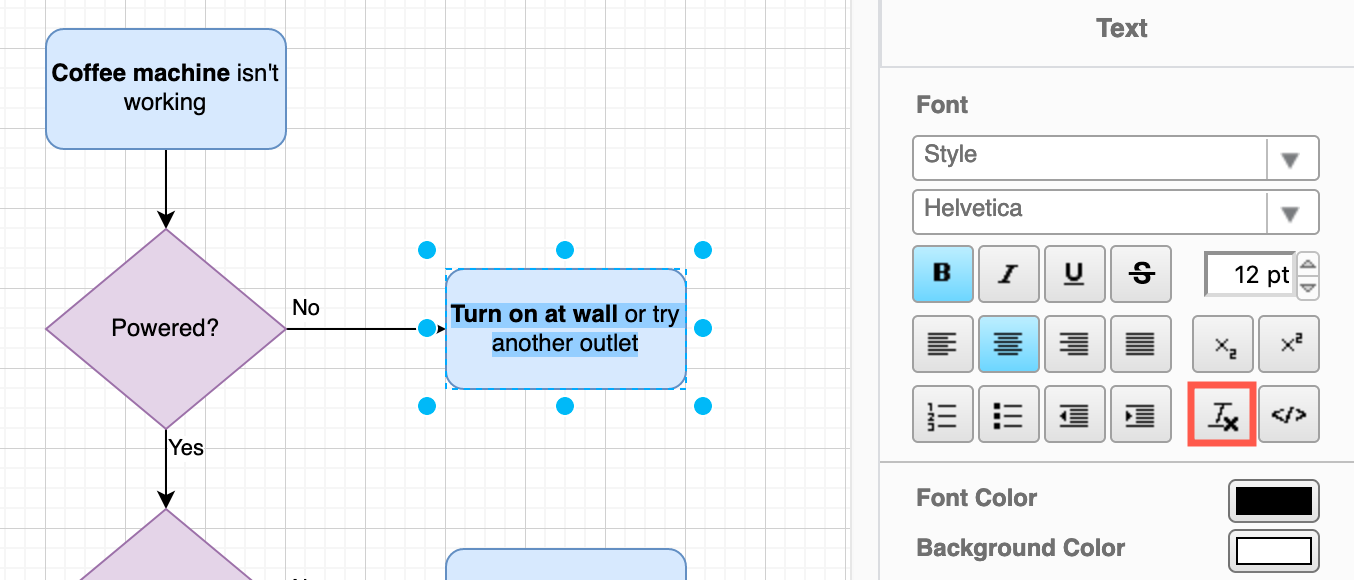
Text labels in shapes and on connectors can be formatted with HTML, so you can apply a style to part of a text label. For example, you can apply bold, italicise, colour, or a link to just one word.
- Double click on a shape to select the label text, then drag a selection around just the text inside the label you want to style.
- Use the style options to
- change the font and size; bold italicise, underline or strikethrough text
- change the text justification
- turn the text into a superscript or subscript
- format the text as a list
- increase/decrease the text indent
- change the font or background colour of just that section
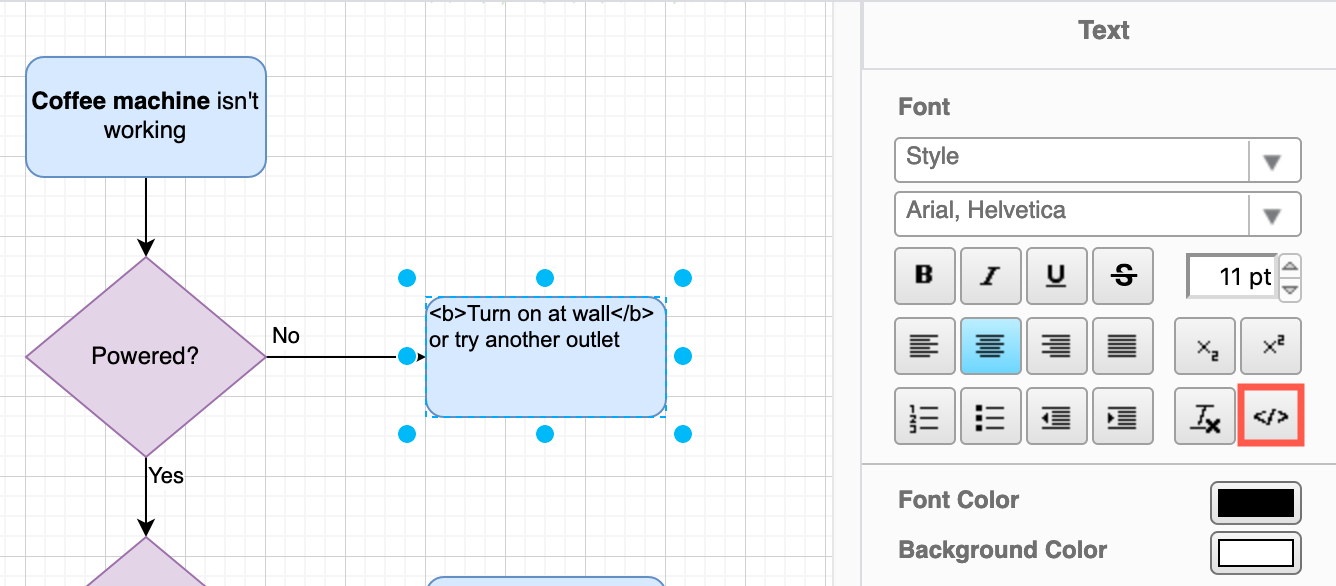
Edit the HTML formatting of the text: To apply complex formatting quickly, click the HTML button, then edit the HTML tags in the label. Click the HTML button again to switch back to the visual representation.
Clear text formatting: Click the Clear Formatting button when you have selected text to remove bold, italics, and so on.
Change the position of the text
You can change how a text label is displayed in a shape by changing its position. Select the shape where you want to change the text alignment first. These options are only available when you have
Vertical text: Click on the Vertical button to switch to vertical text, and again to switch back to horizontal text.
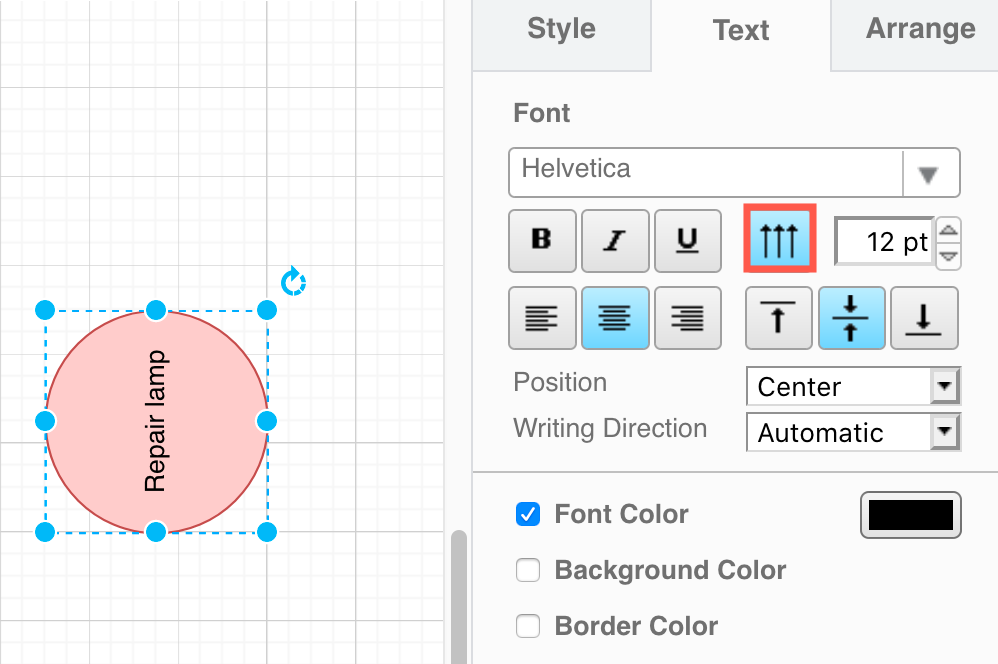
Tip: Change the Writing Direction to read the text vertically from the top downwards.
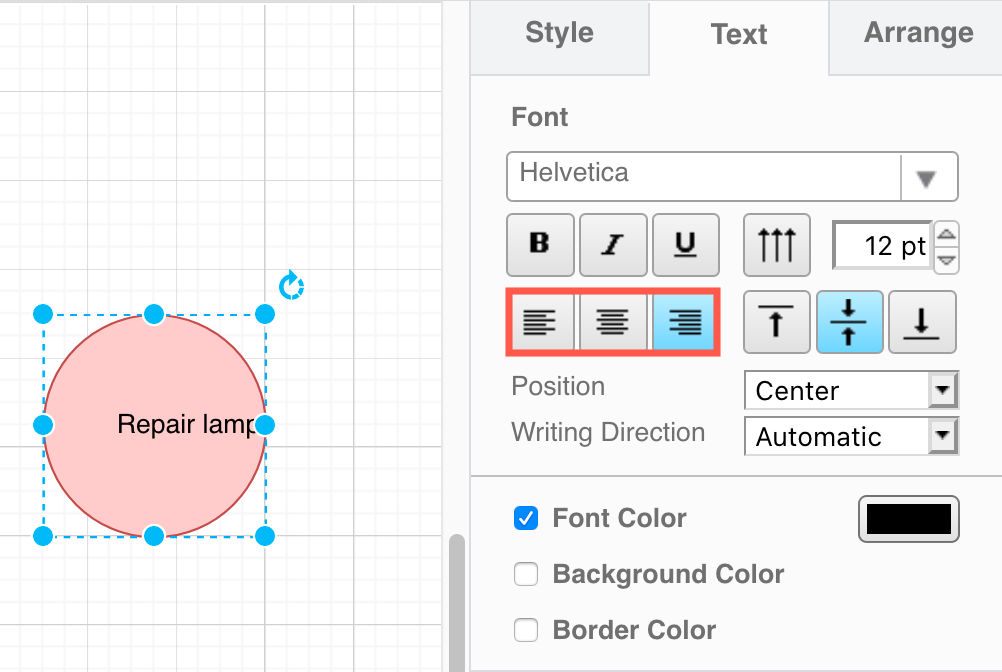
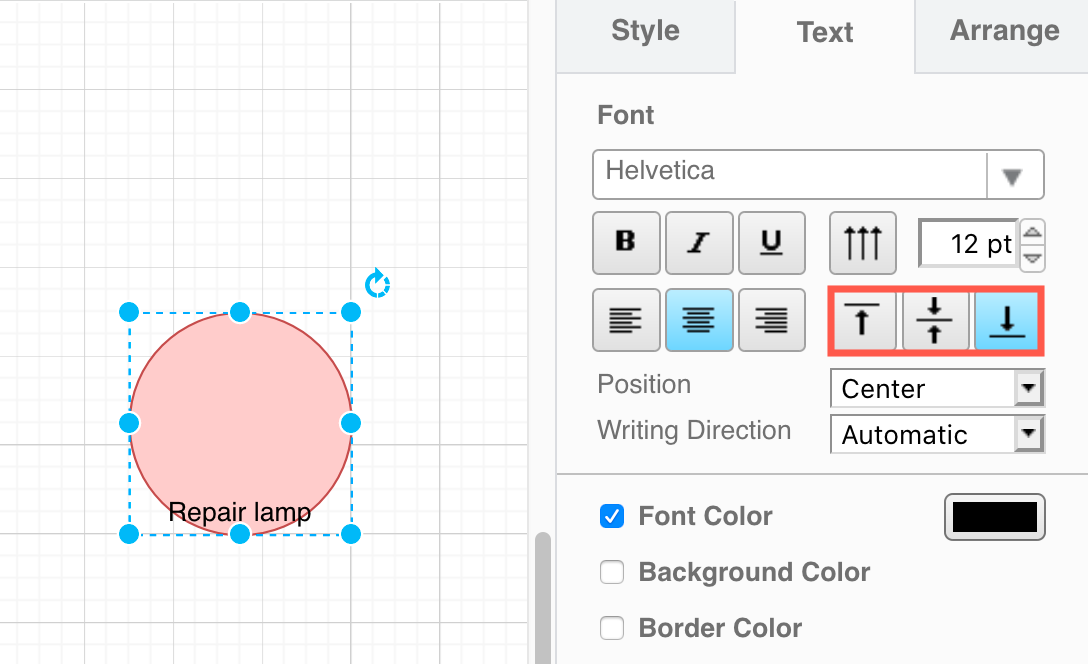
Text position: Click Left, Center or Right to change the horizontal position, and Top, Middle or Bottom to change the vertical position.
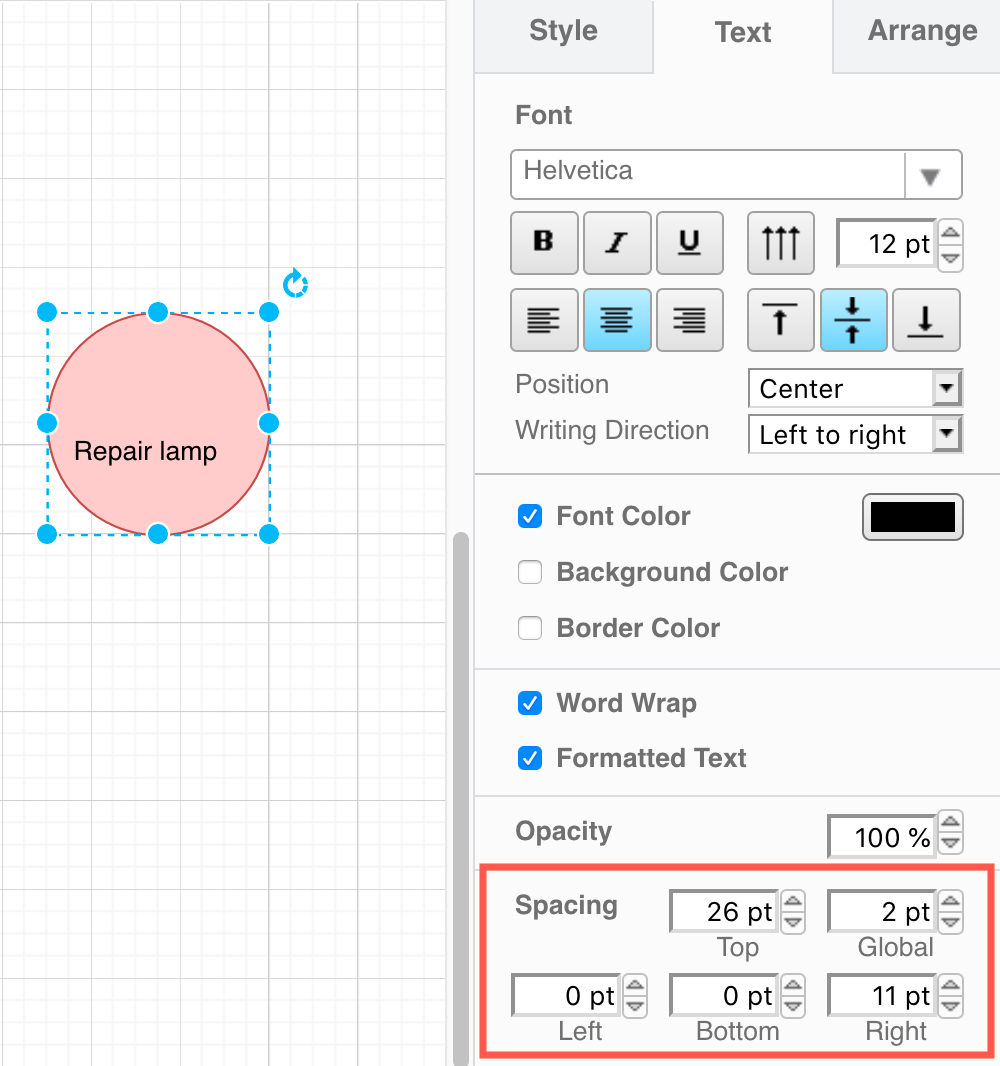
Text spacing: Select the shape, then change the Top, Left, Bottom, Right and/or Global values in the Spacing section of the Text tab in the format panel.
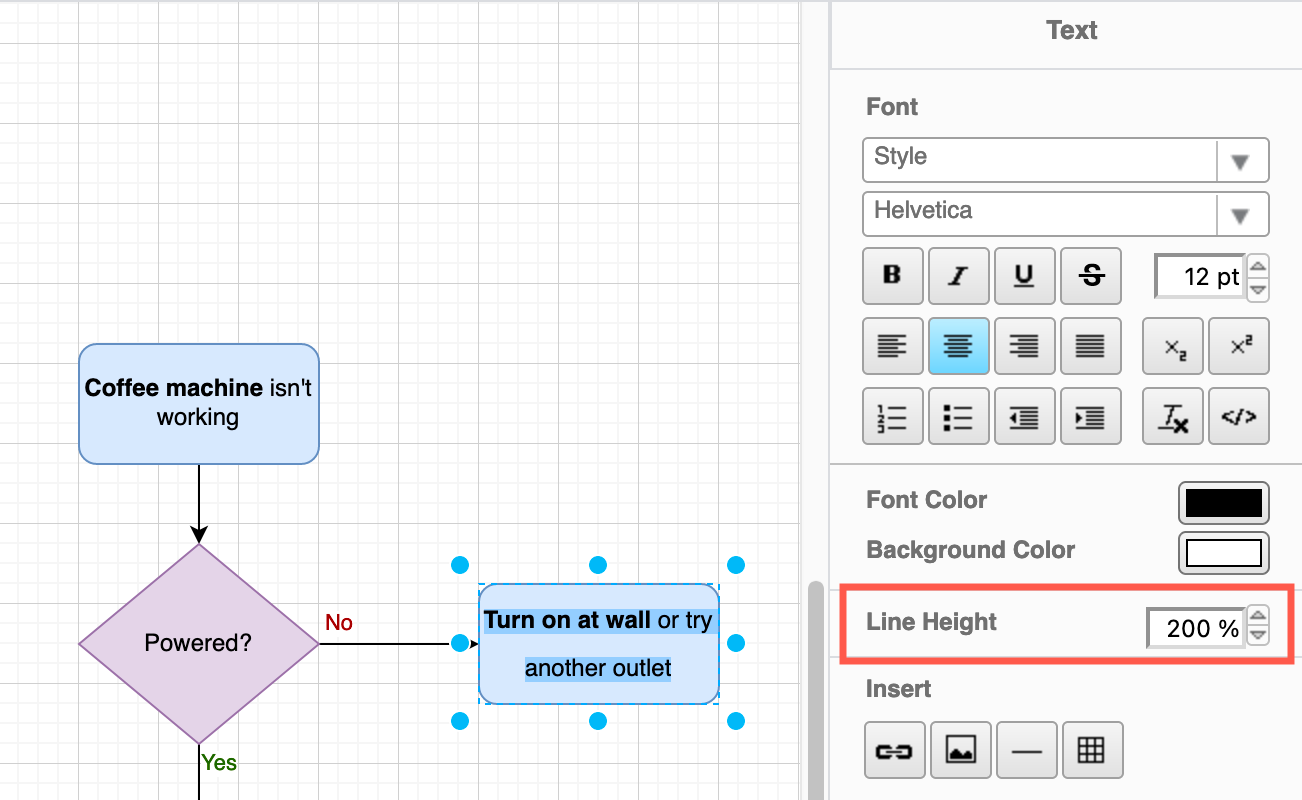
Line spacing: Select the text inside the label where you want to change the line spacing, then change the Line Height value. Note that this option does not appear if you simply select the shape or connector - you must select some of the text within that label.
Learn more about text alignment and positioning in shapes and on connectors