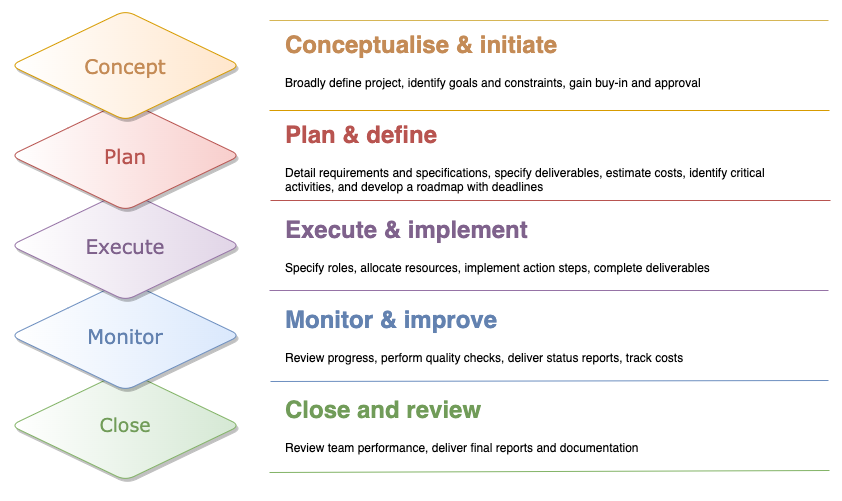
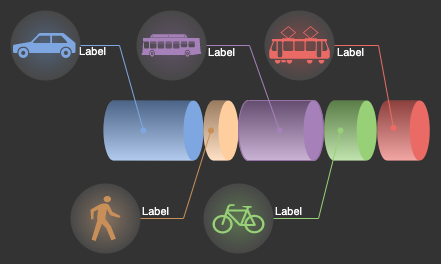
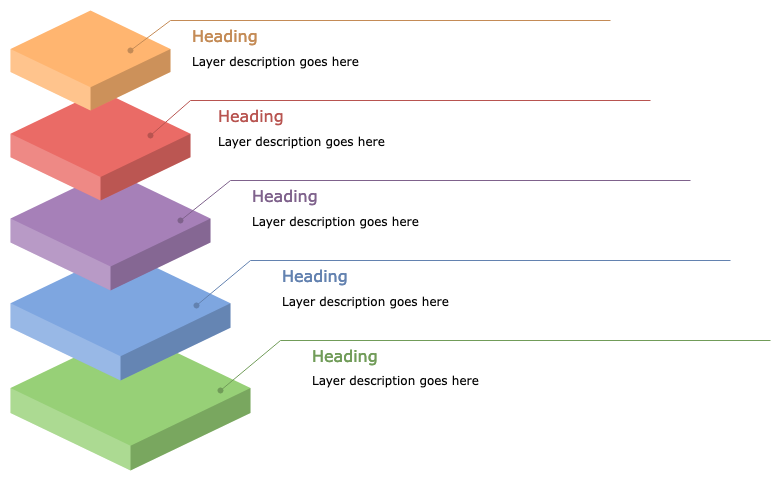
Create infographics and slides using layered shapes
When you slice a 3D shape up and layer it in a diagram, you clearly visualise that a concept or process is broken up into smaller parts. Here’s a step-by-step tutorial to create your own infographic using shapes from the basic draw.io shape libraries.
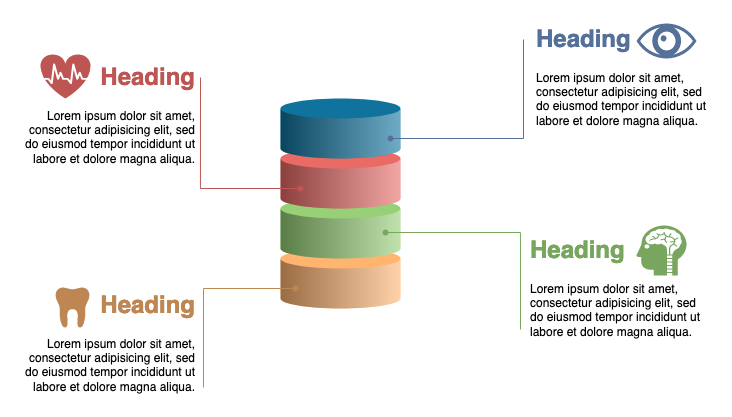
Such layered, repeating shapes are ideal for infographics or when creating slides in a presentation.
Note: This tutorial shows you how to overlap shapes on a single diagram layer on the drawing canvas.
Enable the infographic shape library
The infographic shape library contains shapes with shading that are ideal for presentation slides and infographics.
- Click on More Shapes at the bottom of the left panel.
- Scroll down to the Other category on the left, enable the Infographic shape library checkbox, then click Apply.
Go to diagram.new to start a new diagram our editor.
Build a diagram with layered shapes
If you get stuck: click on any link in the steps below to see how to perform that action.
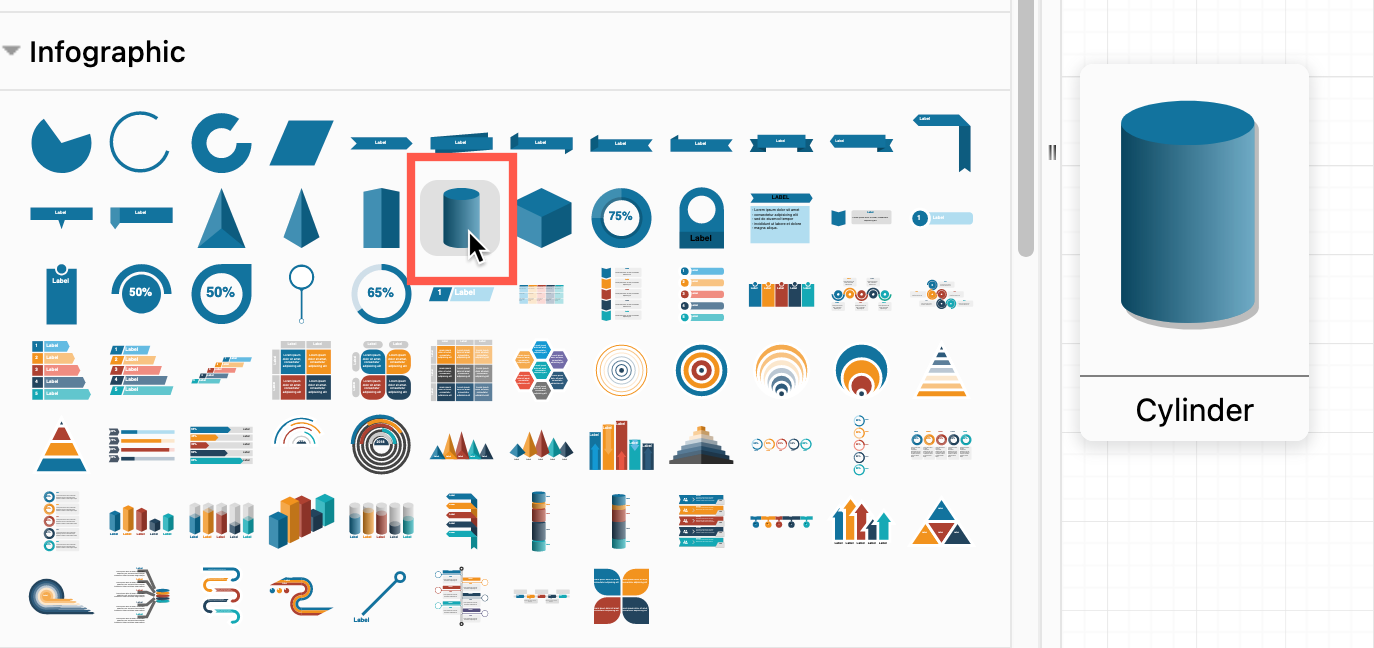
1. Add a shape: Drag a shape from the shape library, or click on a shape to add it to the drawing canvas.
Hover over shapes in the shape library to see a larger preview.
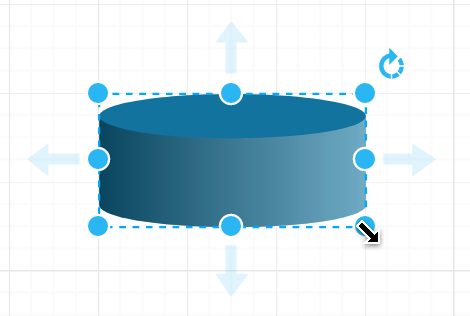
2. Resize and rotate the shape: Click and drag the outer grab handles to resize the shape, or rotate the shape by dragging the arrow in the top right.
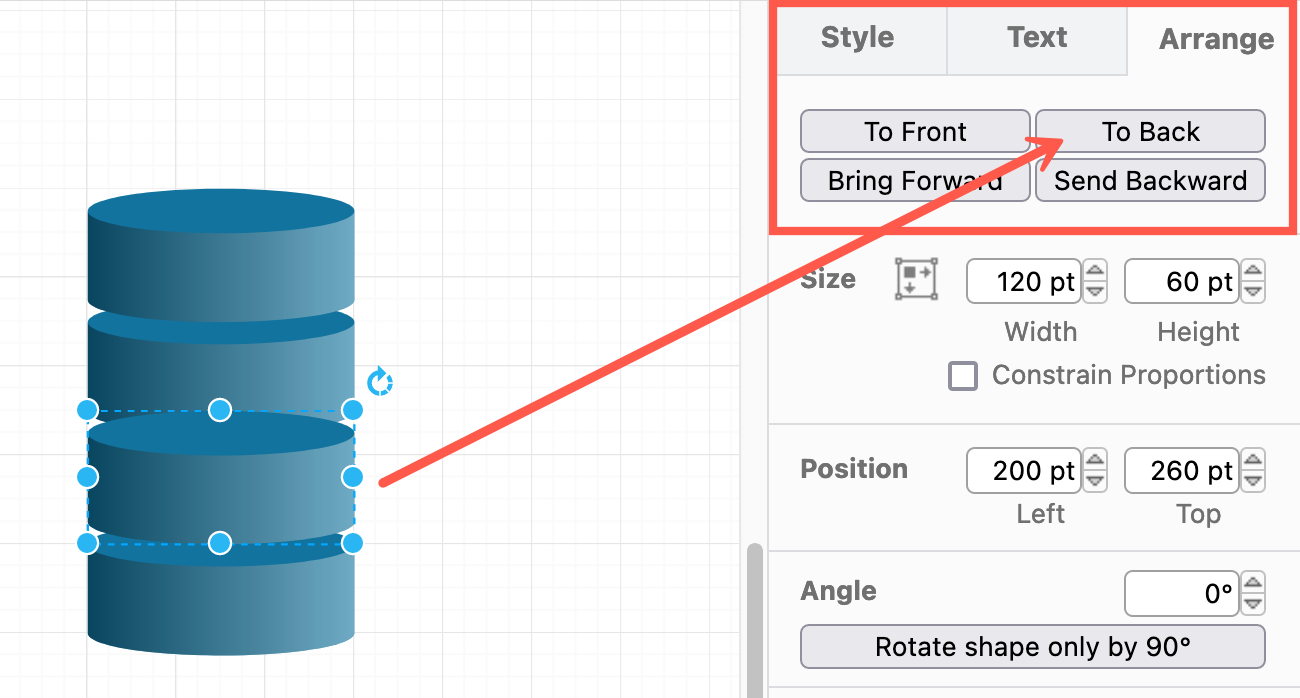
3. Duplicate the shape: Press Ctrl+D (Cmd+D) to copy and paste a duplicate shape. Drag the new shape to just below or next to the first shape, so they overlap a little.

4. Fix the order of the overlap: Click on the buttons in the Arrange tab on the right to move the shapes forward and backwards so they overlap correctly.
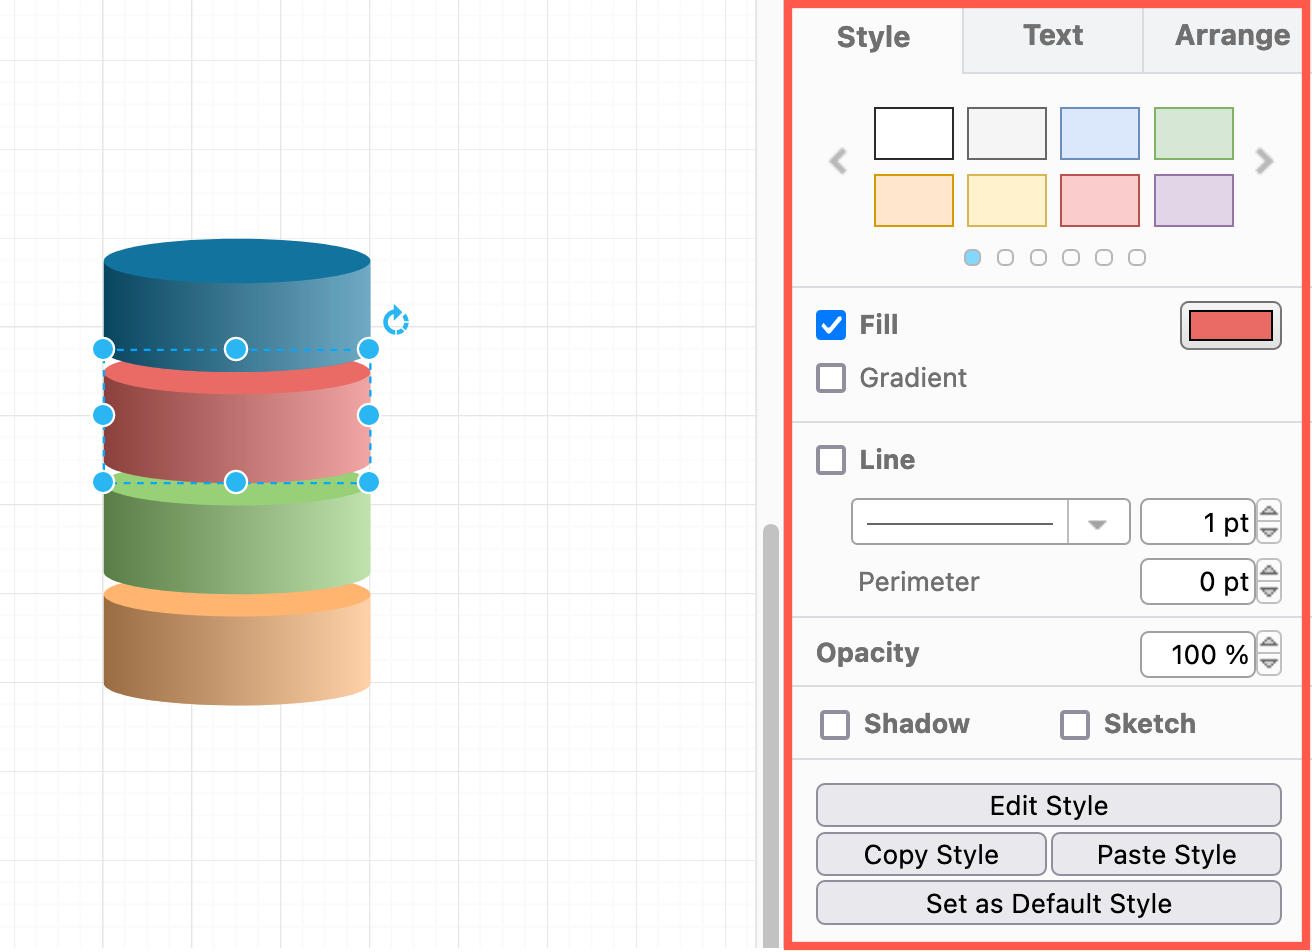
5. Style the shapes: Select a shape, and use the Style tab on the right to change their fill colour, outline style, add a gradient, round corners or use the sketch rough style.
Add callouts and text
Add waypoint shapes: The waypoint shape makes for a clean end for a callout when placed over another shape. Type waypoint in the search field at the top of the left panel and press Enter.
Drag and drop the waypoint shape near or onto one of the existing shapes.
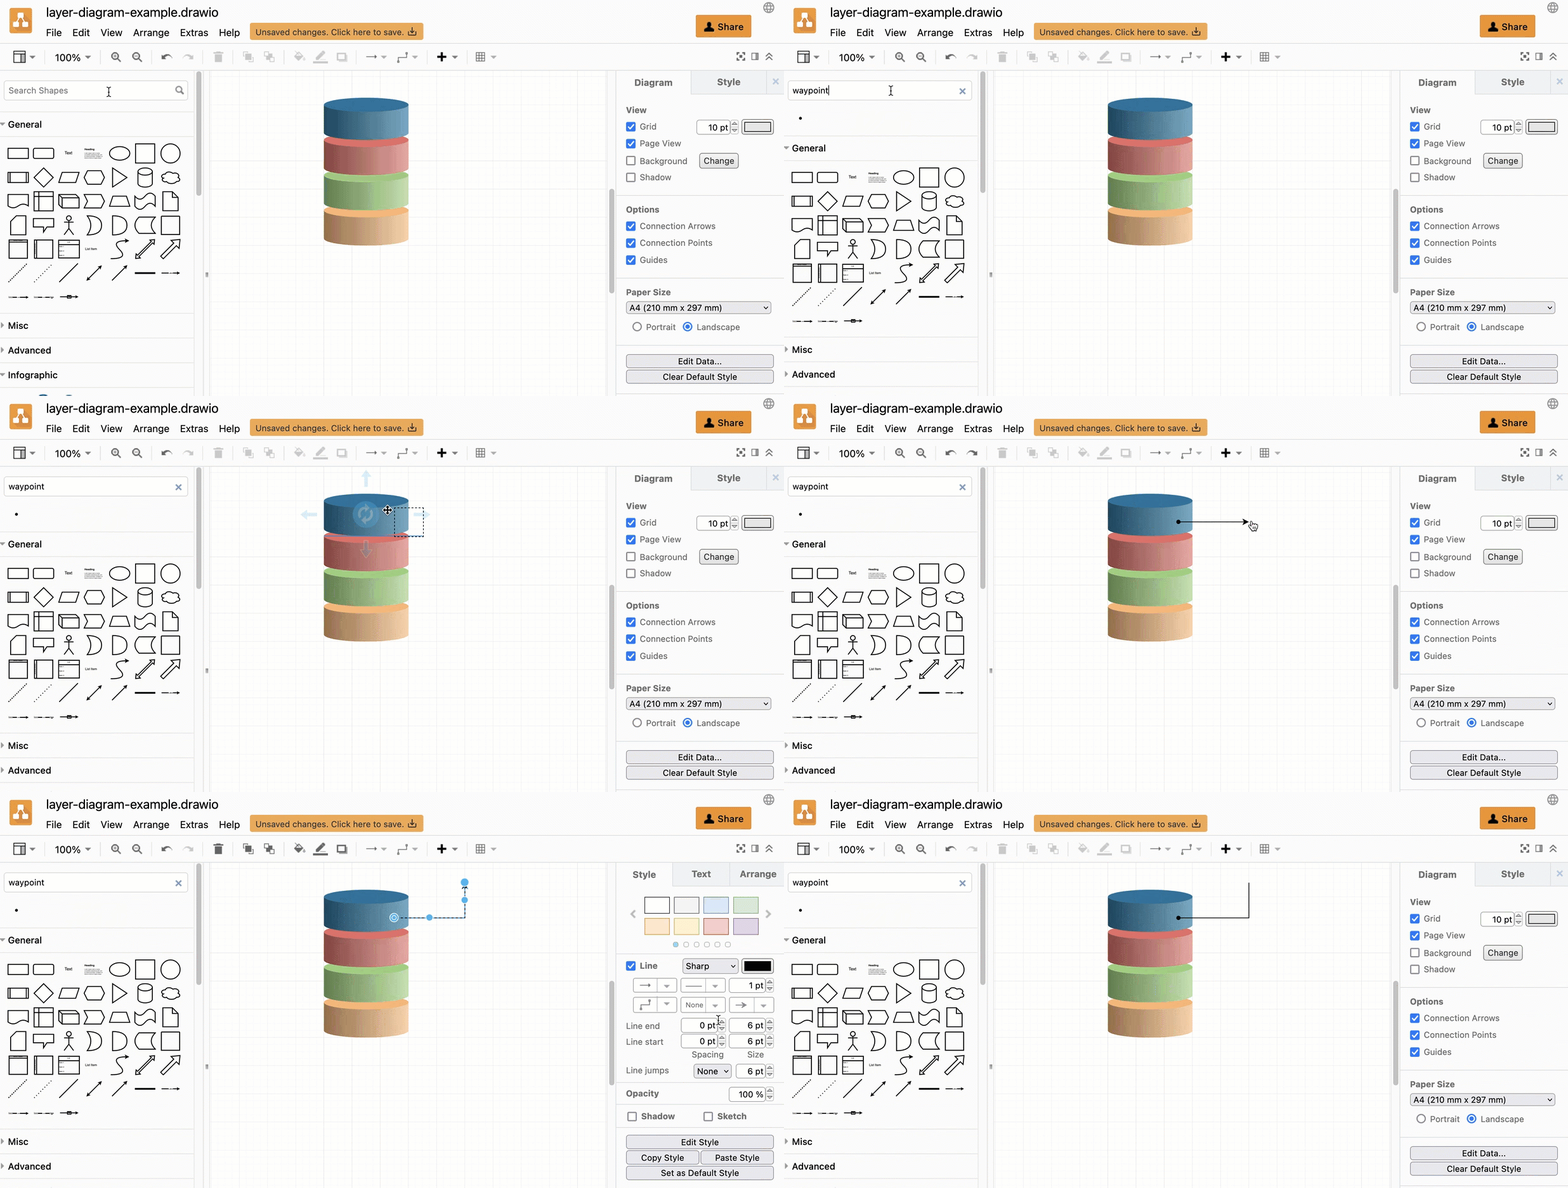
Drag a callout: Hover over a direction arrow on the waypoint shape, then drag a connector from it. Style the connector ends in the Style tab on the right.
Add text: The Textbox shape in the General shape library contains a heading and sample text. Drag one onto the drawing canvas, and position it near the callout connector. Use the blue guidelines that appear to help you line your text up with the shapes.
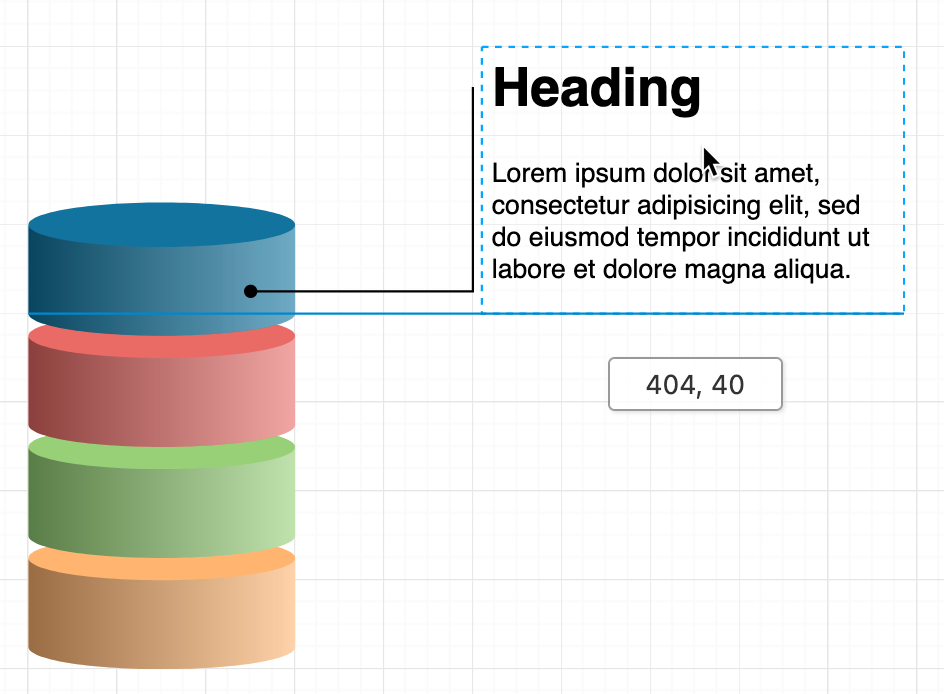
If you have left the connector selected in the previous step, and then you clicked on the Textbox shape, it will attach to the free end of the connector, which may or may not be what you want.
Hold down Alt whenever you move a shape near a connector or a connector near a shape to ensure it does not attach. Holding down Alt will also ignore container shapes and groups when overlapping shapes.
Add icons: The Signs and Clipart shape libraries contain icons that are useful for slides and infographics. Alternatively, search for appropriate shapes at the top of the left panel.
![]()
Style the background
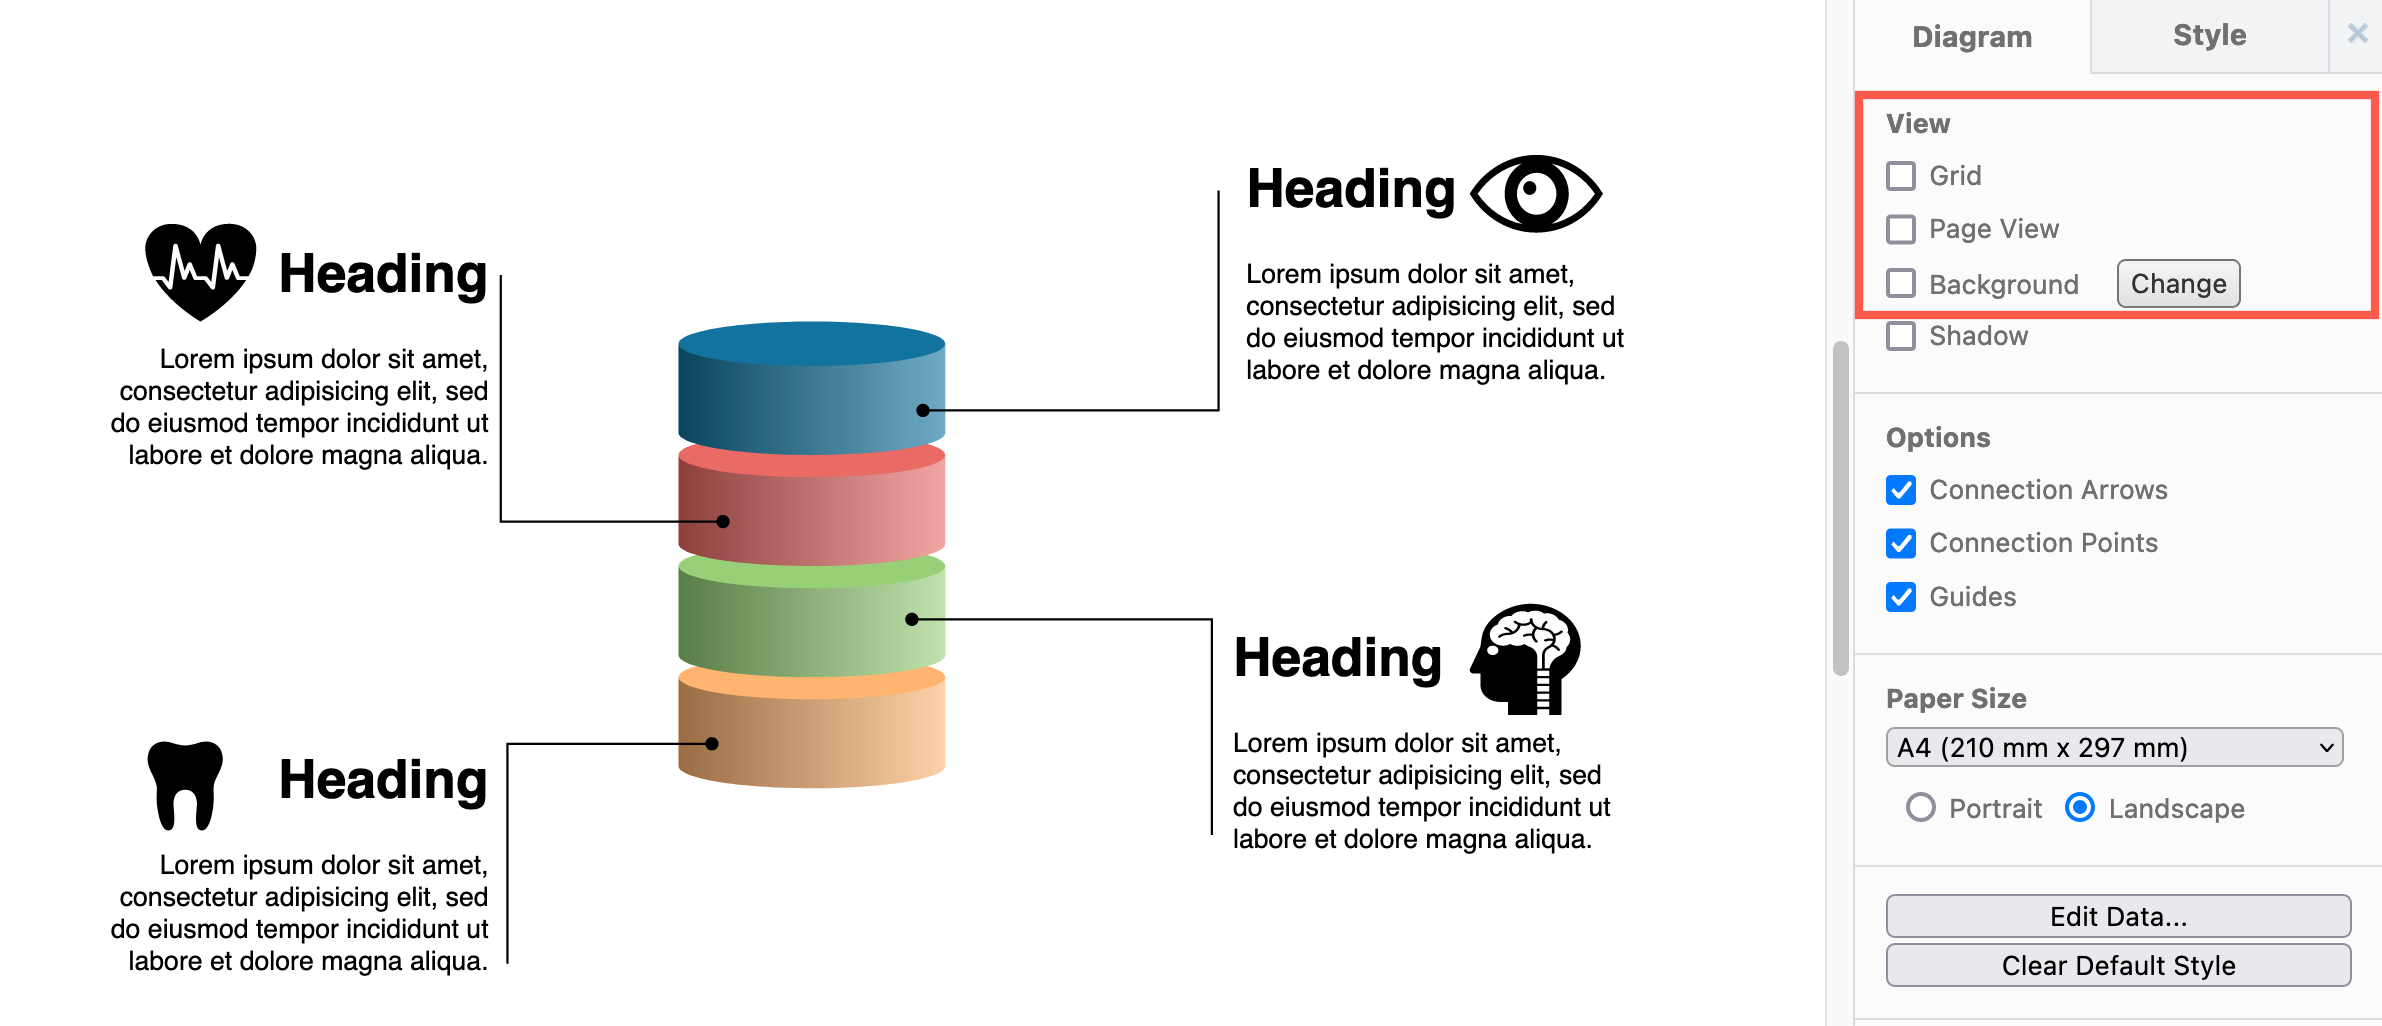
Now that you’ve got everything in your diagram positioned well, you can set a background colour and hide the diagram editor grid. Your diagram will now appear as it would when you add it to a slide or print it as an infographic.
- Make sure nothing is selected in the diagram, then disable the Grid and Page View checkboxes in the Diagram tab on the right.
- Enable the Background checkbox and select a colour if required.
Style callouts and text
To make a diagram easier to understand, style the waypoint shapes, headings and callouts so the colours match the shapes they are attached to.
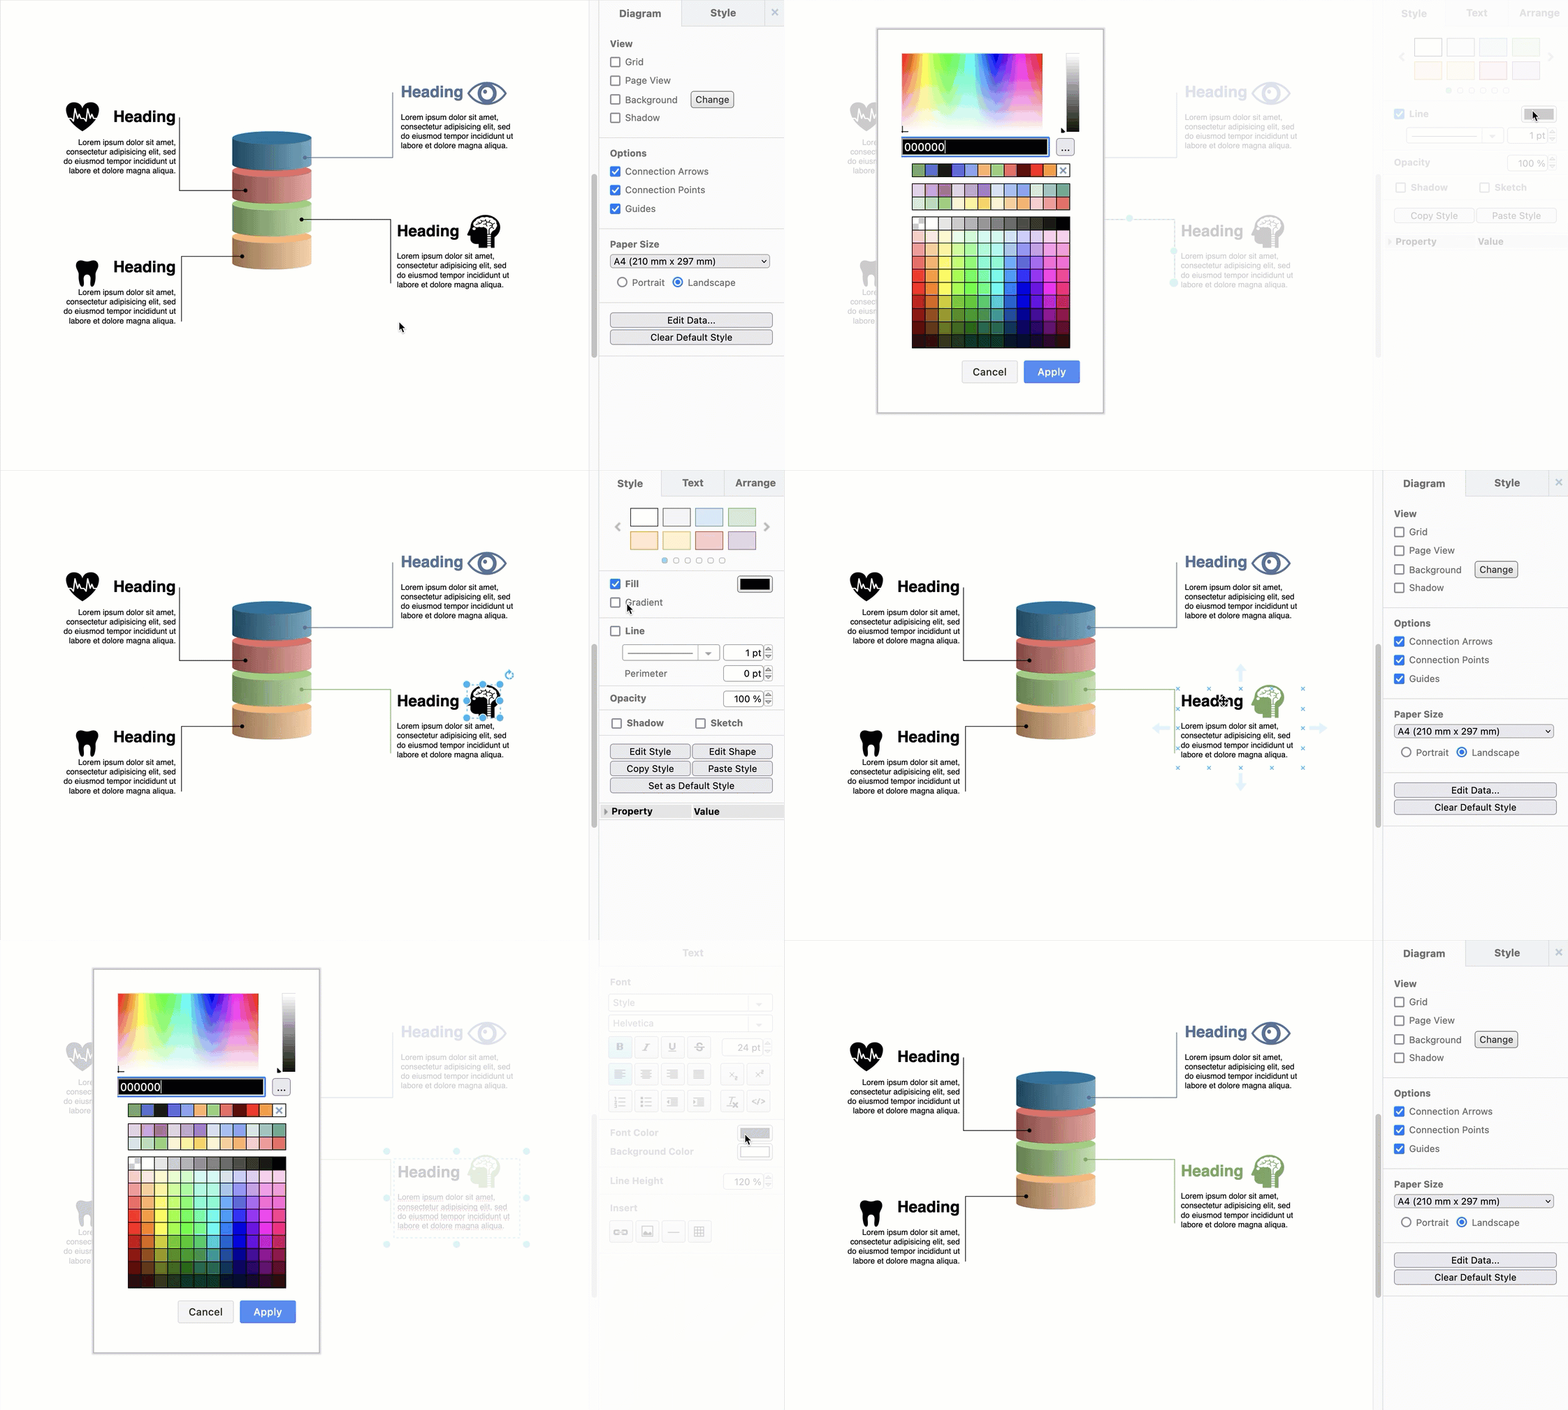
Change the heading colour: Double click on one of the Textbox shapes to select all of the text inside it. Double click again, just on the heading text to select only that text. Change the font colour in the Text tab on the right.
Changing the text style while the entire text is selected will change the style of the heading too.
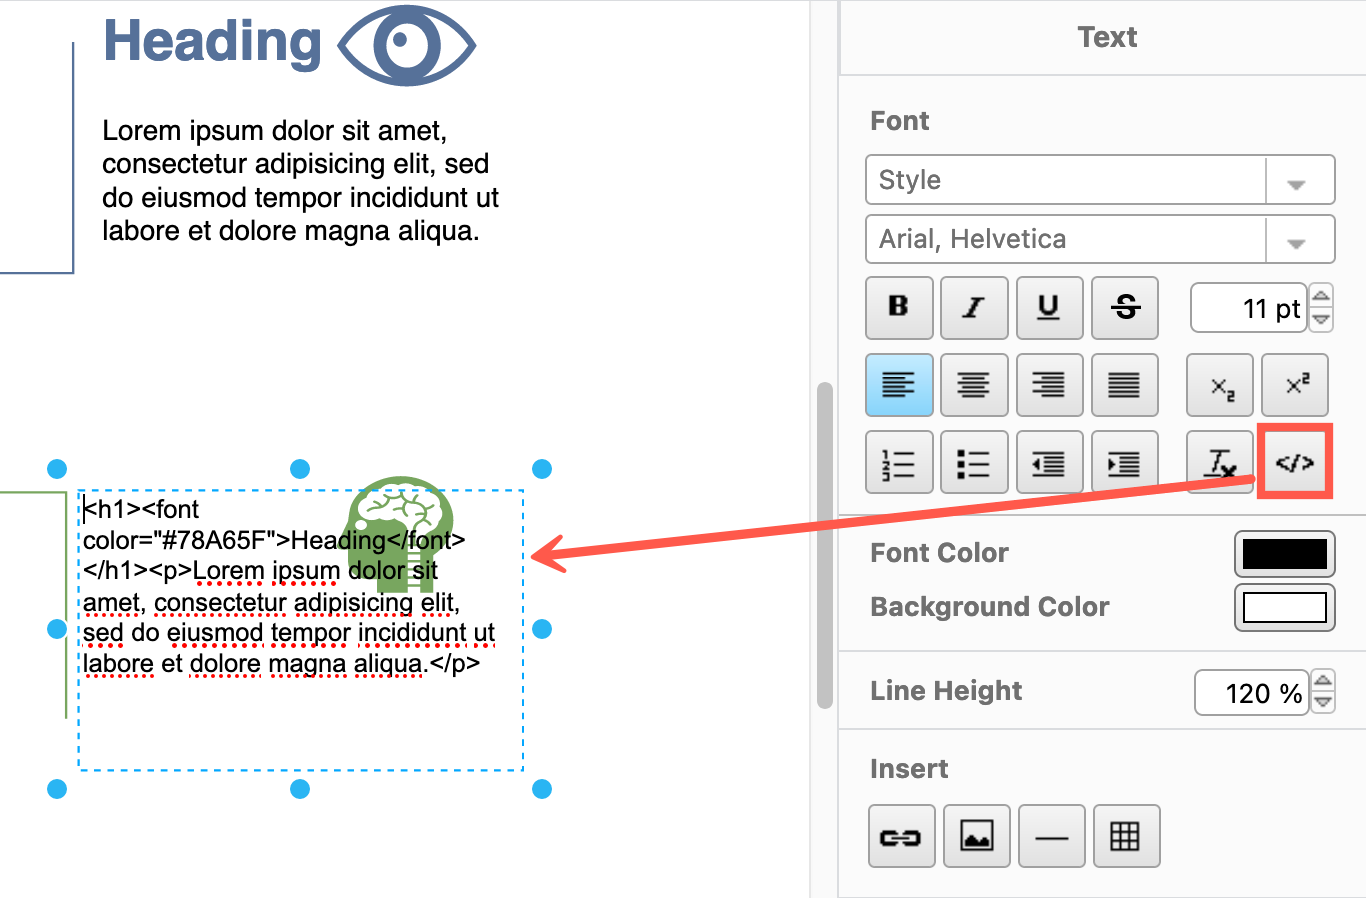
The Textbox shape is formatted with HTML tags. You can edit these tags directly by clicking on the HTML button in the Text tab in the format panel. Click the HTML button in the Text tab again to return to the WYSIWYG view.
Embed or export the diagram
- Save the diagram file to Microsoft OneDrive and embed the diagram file in a Powerpoint presentation using the draw.io add-in for Powerpoint.
- Save the diagram file in Google Drive Embed it in Google Slides using the draw.io for Slides add-on.
You can export your diagram to various formats, including image files, PDF documents, HTML code and more

Open this example in the draw.io viewer
More layered infographic diagrams
The Infographic shape library contains several ready-built templates for infographics and slides with overlapping shapes.
Tip: Click on a diagram to open it in the draw.io viewer.
The following examples were all created in draw.io using basic shapes from the General, Infographic and Shapes shape libraries.

